
Gatheroo is a secure platform for collecting information and documents from your clients. As an Account Holder or team member, you use it to build requests, send them out, and get everything back in one organised place. This guide walks you through setting up your account and sending your first request – the whole process takes under 30 minutes.
Who’s who in Gatheroo
Three types of people use Gatheroo, each with a different job:
- Account Owner: the person who created the account. Full access to everything, including billing and account-wide settings.
- Team Members: colleagues you invite in. By default, Admins have access to most global settings (like Domain Verification) but not to Manage User Roles; Members don’t have access to global settings at all. The Account Owner can adjust any of this via Manage User Roles.
- Clients: the people you send requests to. They never need a Gatheroo login – just a secure link in their email.
(Full glossary of terms like Request, Template, Draft, and Published: see Gatheroo Terminology.)
Step 1: Create your Gatheroo account
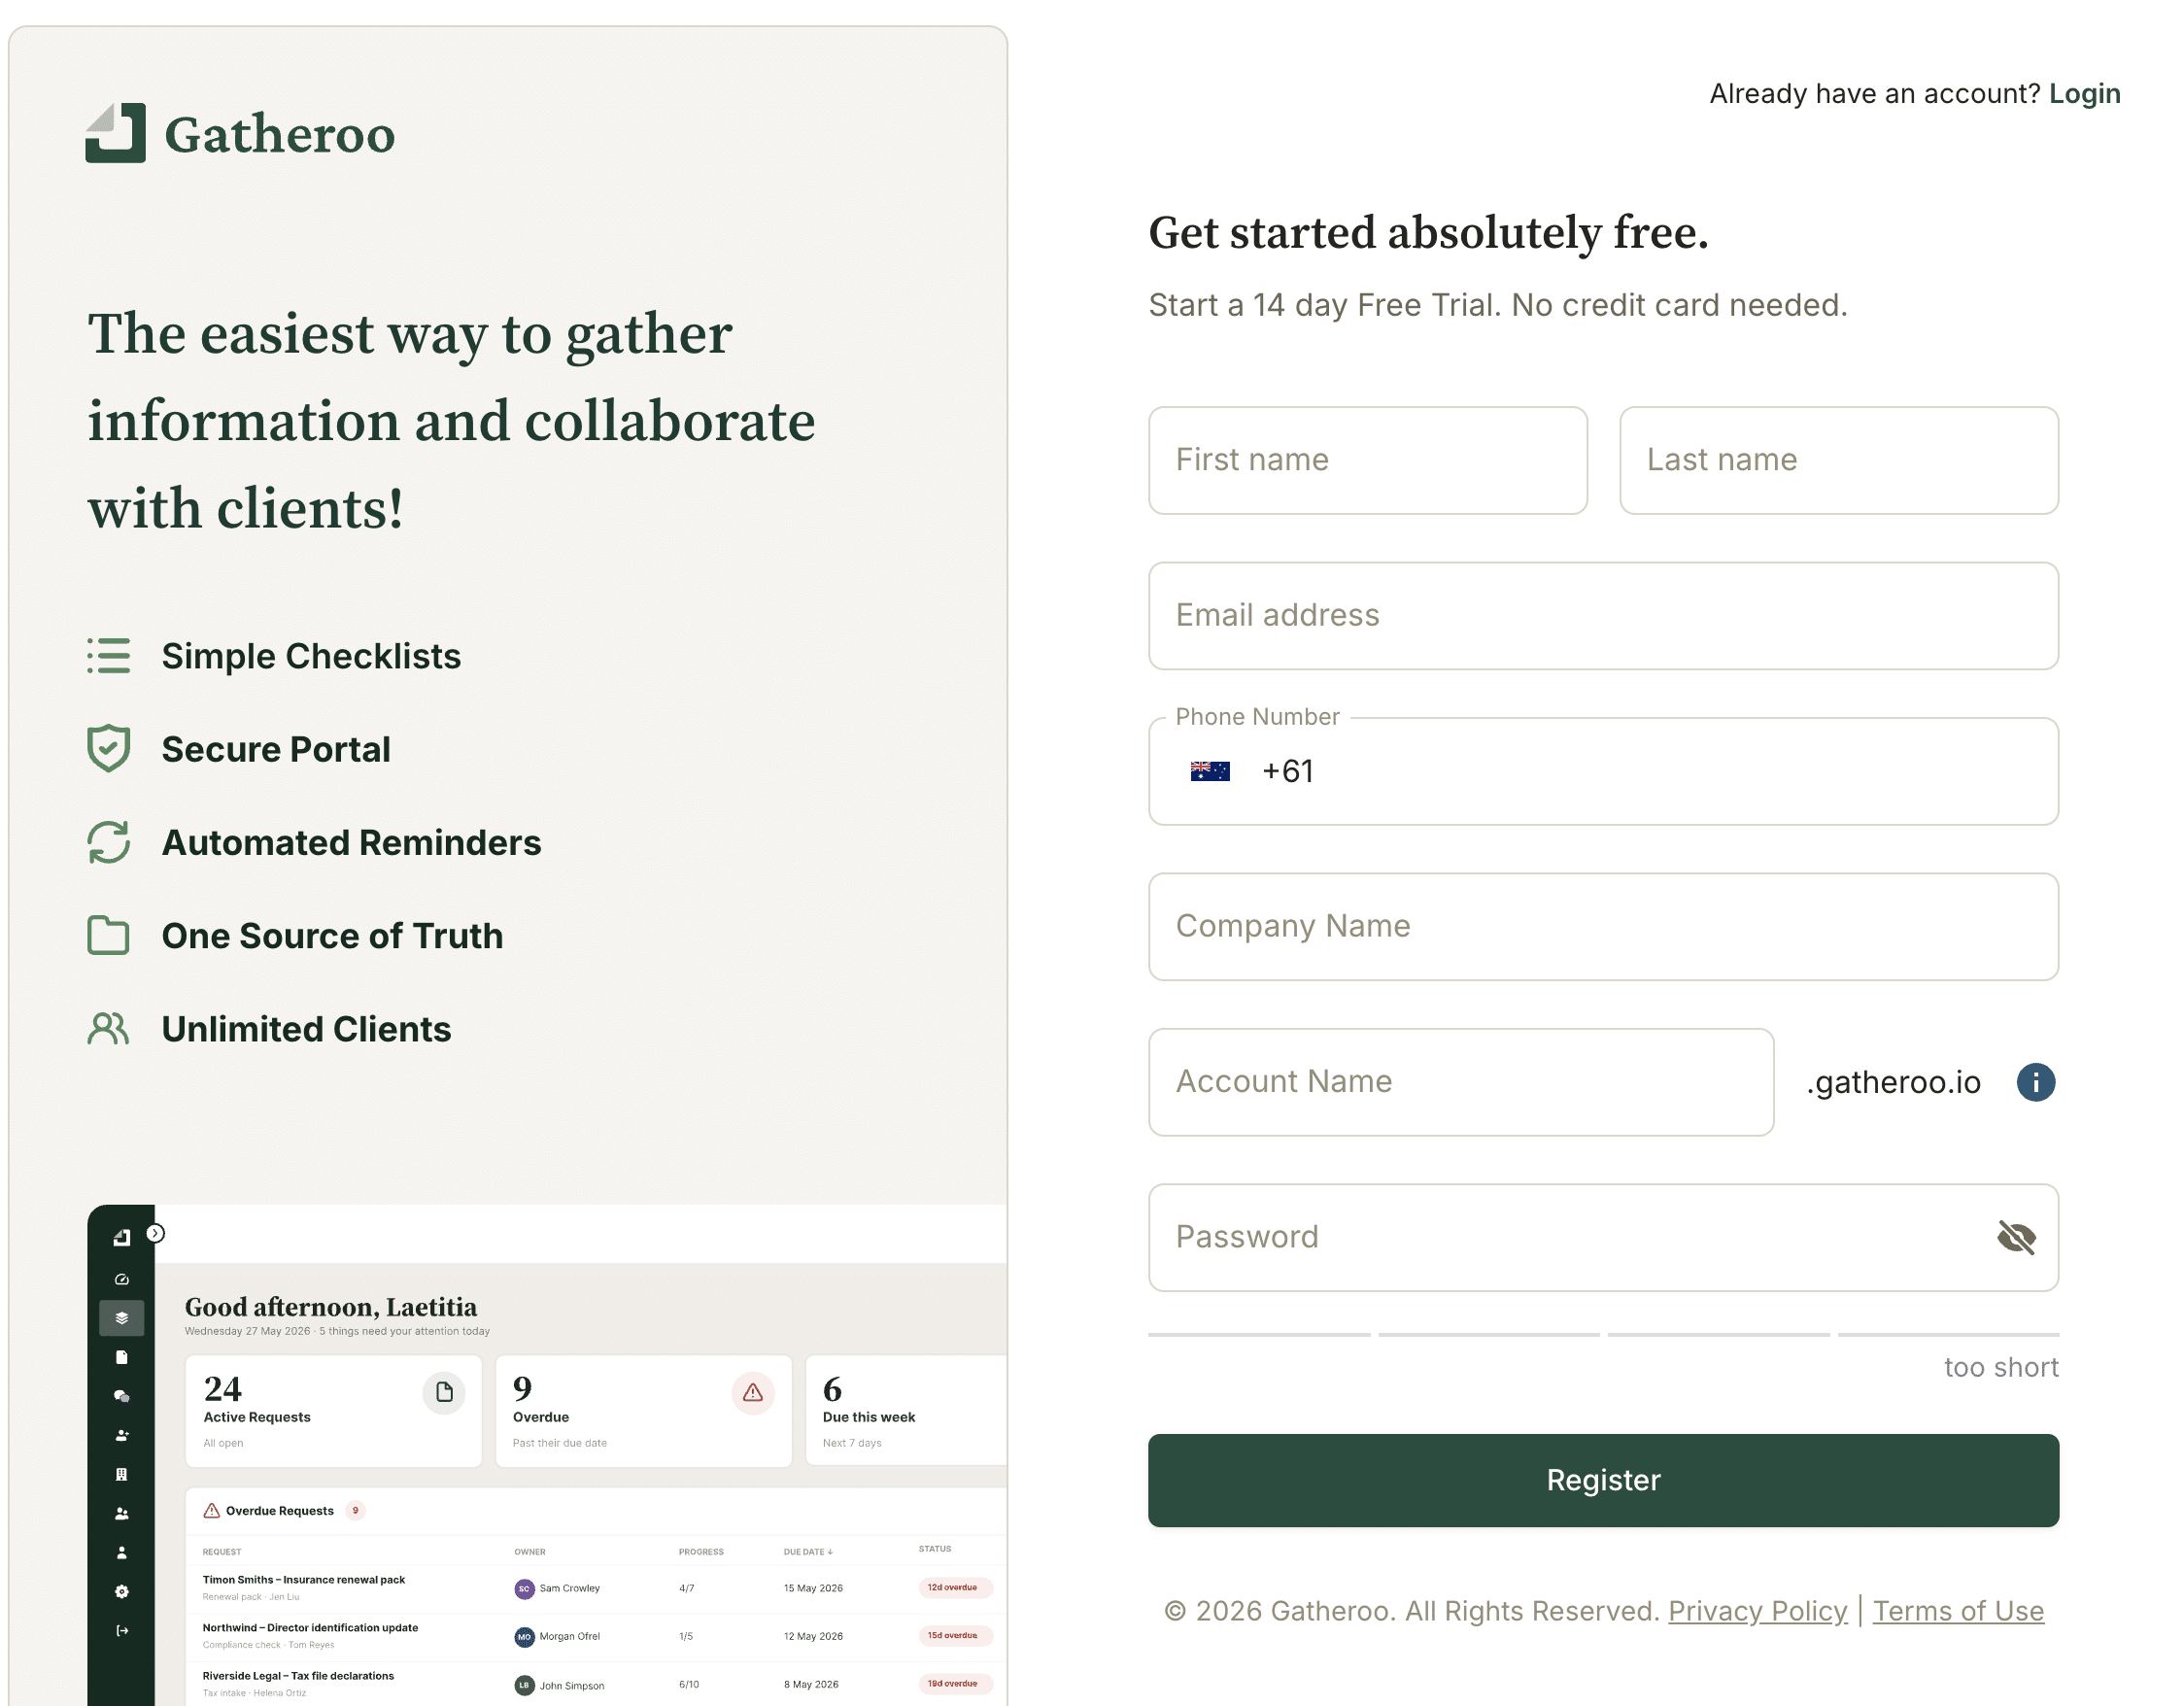
- Go to gatheroo.io and click Start Free Trial.
- Enter your name, email address, business name (this becomes your Gatheroo account URL and can’t be changed later) and a password, then click Create Account.
- Check your inbox for a verification email and click the confirmation link – you won’t be able to log in until your email is verified.
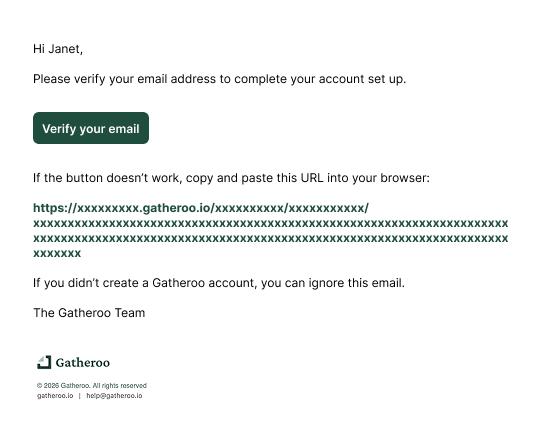
Can’t find the verification email? Check your junk folder, then use the Resend Verification Email link on the login screen.
Step 2: Log in and explore the Dashboard
1. Go to your unique account URL and sign in with your email and password. This URL can be found in your welcome email.
2. Alternatively, head to https://app.gatheroo.io/auth/subdomain-lookup, enter the account name and follow the prompts.
3. You’ll land on the Dashboard. This is your home screen, showing upcoming deadlines, quick actions and recent activity.
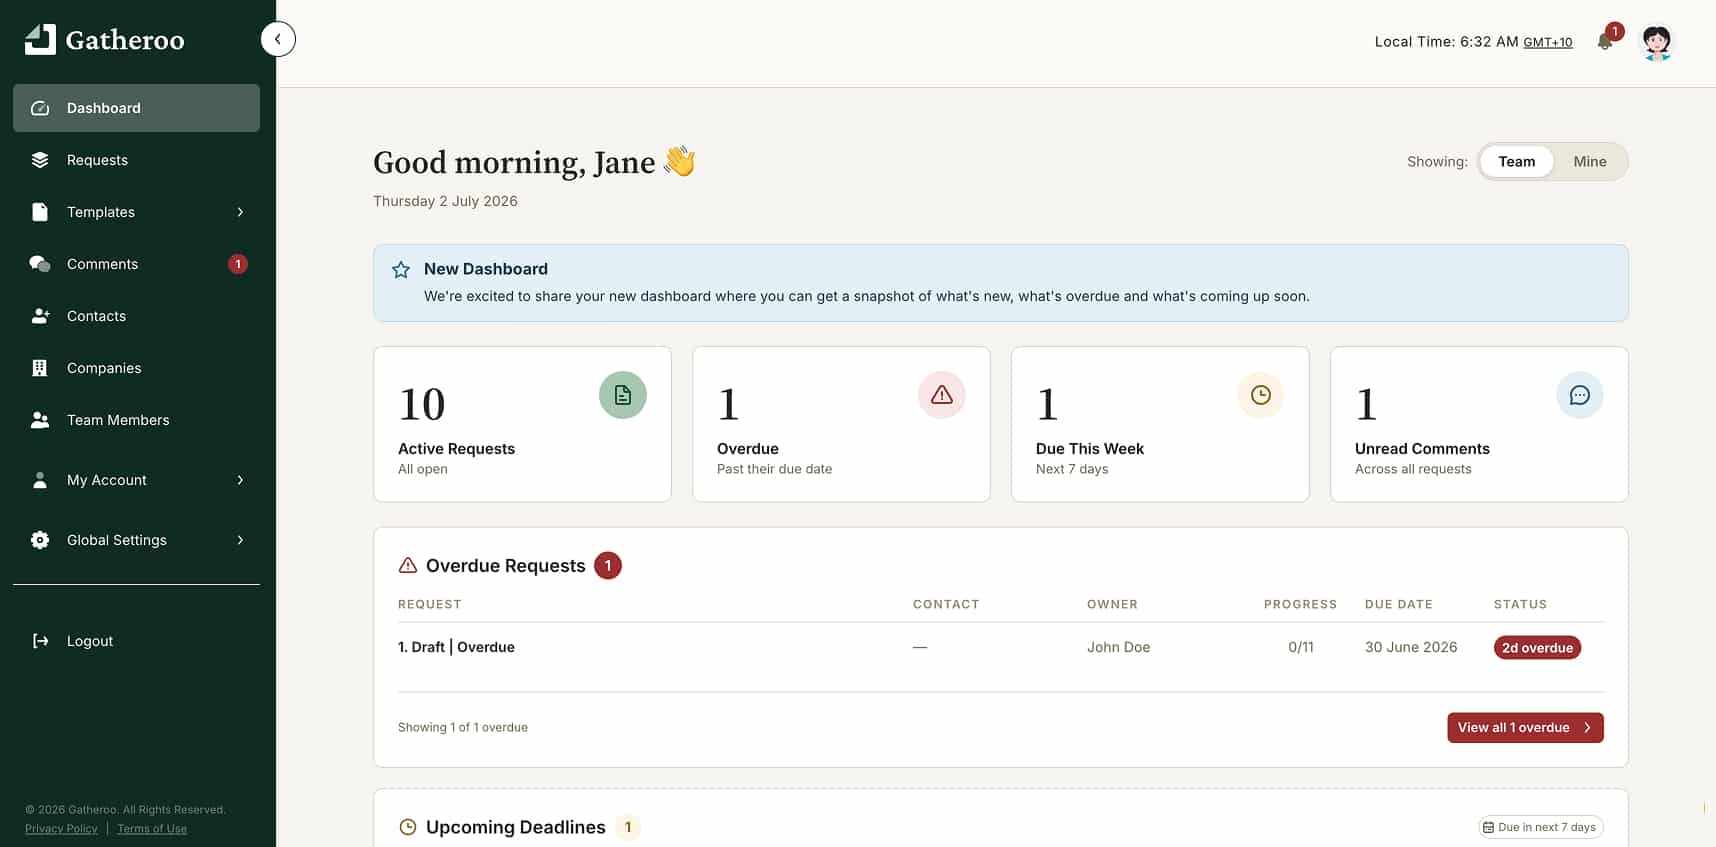
4. The left-hand menu is where everything else lives: Requests, Contacts, Companies, Templates, and account settings.
Full detail: Your Gatheroo Dashboard – An Overview
Step 3: Personalise your account
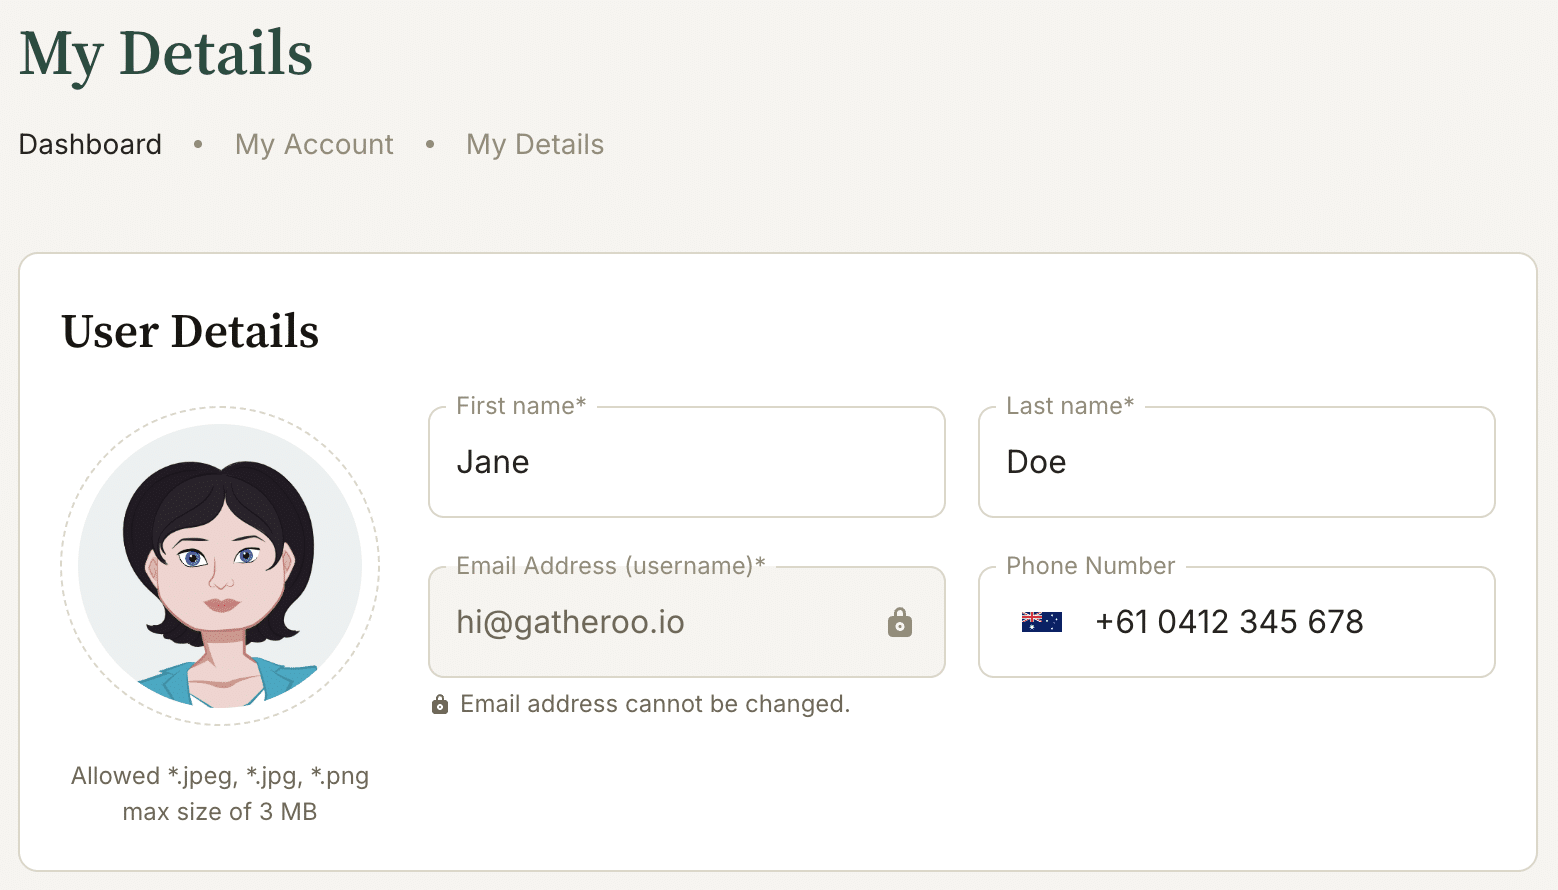
Before you send anything, take a moment to set up your profile under My Account → My Details
1. Confirm your name and upload a profile photo. This appears on comments you send clients.
2. Check your email signature, which appears on outgoing request and reminder emails.
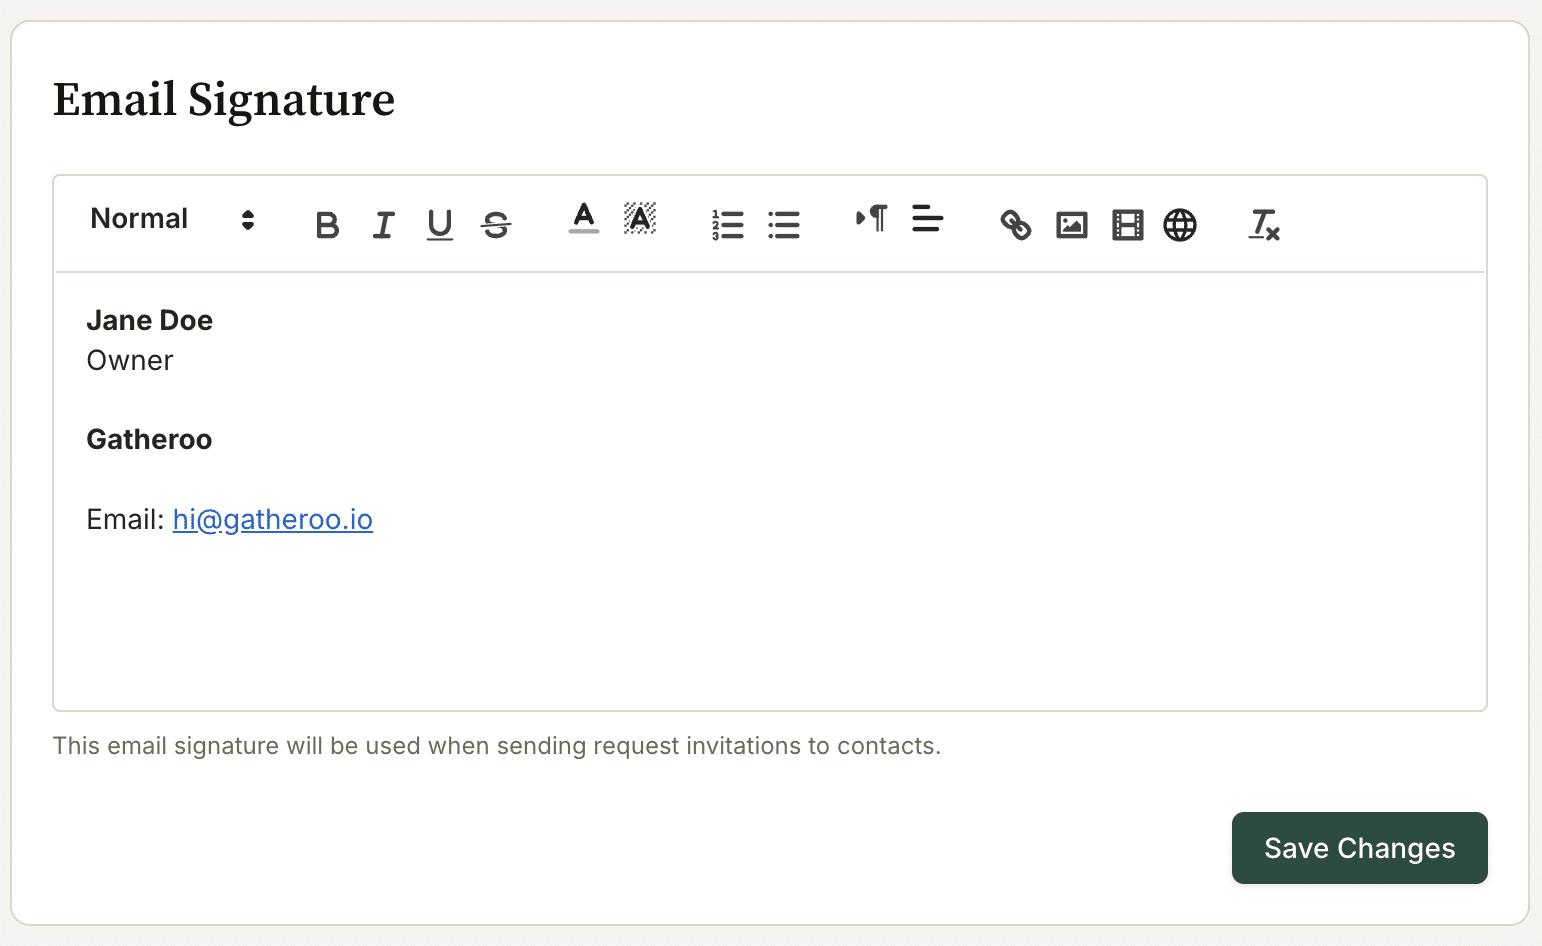
3. Click Save Changes.
Step 4: Add your first contact
Contacts are the clients you’ll send requests to – these are unlimited on all plans.
- Click Contacts in the left-hand menu, then Add Contact (or use the Quick Actions shortcut on the Dashboard).
- Enter their first name, last name, and email address. Optionally link them to a Company.
- Click Save.


Step 5: Create and send your first request
A request is a form you send a client to collect information and documents. You can build one from scratch or start from a template.
- Click Requests, then New Request. Name it and select the contact.
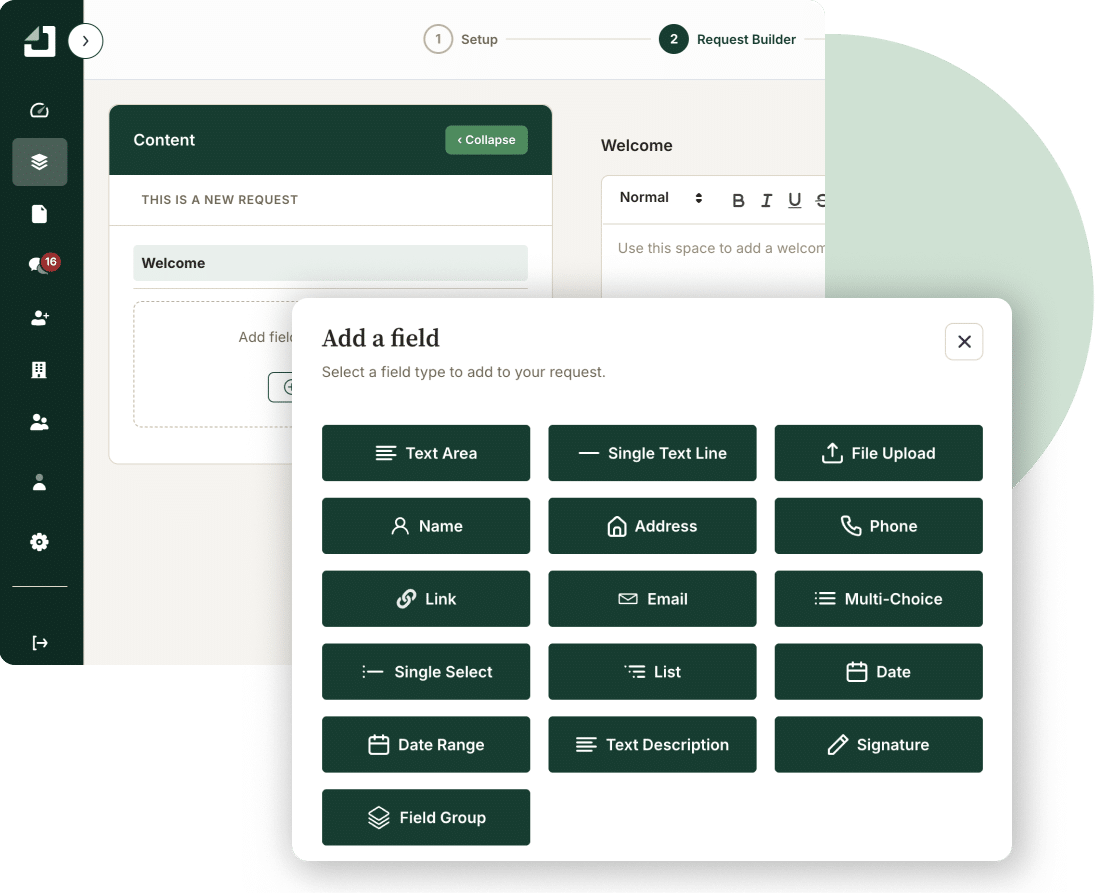
- In the Request Builder tab, add the fields you need.
- Preview what clients will see, then move to the Publish step.
- Confirm or select the contact(s) to receive the request and click Publish Project.
- Review the email subject and body, then Send (or Schedule for later).
- Your client gets an email with a secure link. You can track their progress from the Requests dashboard at any time.
For the full request-building process: field types, settings, templates, see the complete guide to requests in Gatheroo.
Keeping track as you go
Two things worth knowing early on, covered in more depth elsewhere: every request breaks down into pages, sections, and fields – see Request Structure Overview and Gatheroo offers a range of field types for different kinds of information, from simple text to signatures – see Field Types in Gatheroo.
You can also check exactly who’s opened, started, or completed a request at any time via the Activity Log, and once files are submitted, download them all in one organised zip.
What’s next?
Now that you’ve sent your first request, explore these guides to get more out of Gatheroo: