What this does:
By default, emails sent from Gatheroo to your clients come from Gatheroo’s domain. Domain Verification lets you send those emails from your own domain (for example, hello@yourcompany.com).
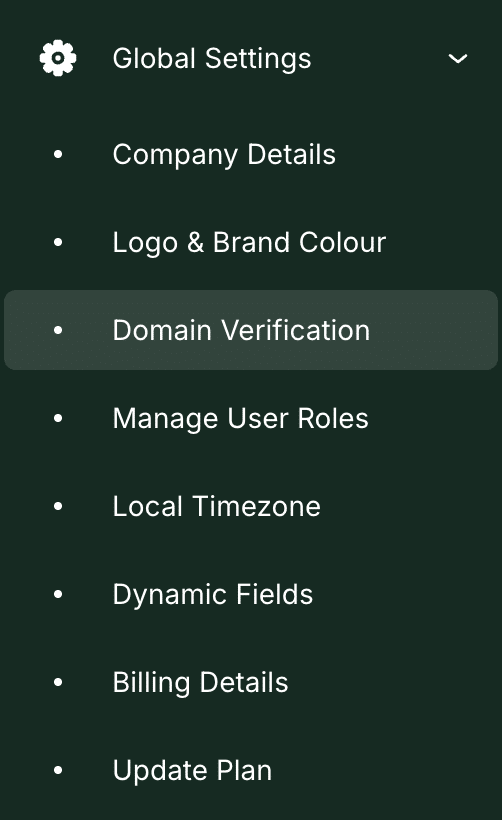
1. Go to Global Settings → Domain Verification in the left-hand menu.
2. Open the instructions to verifying your domain by selecting the downward arrow.
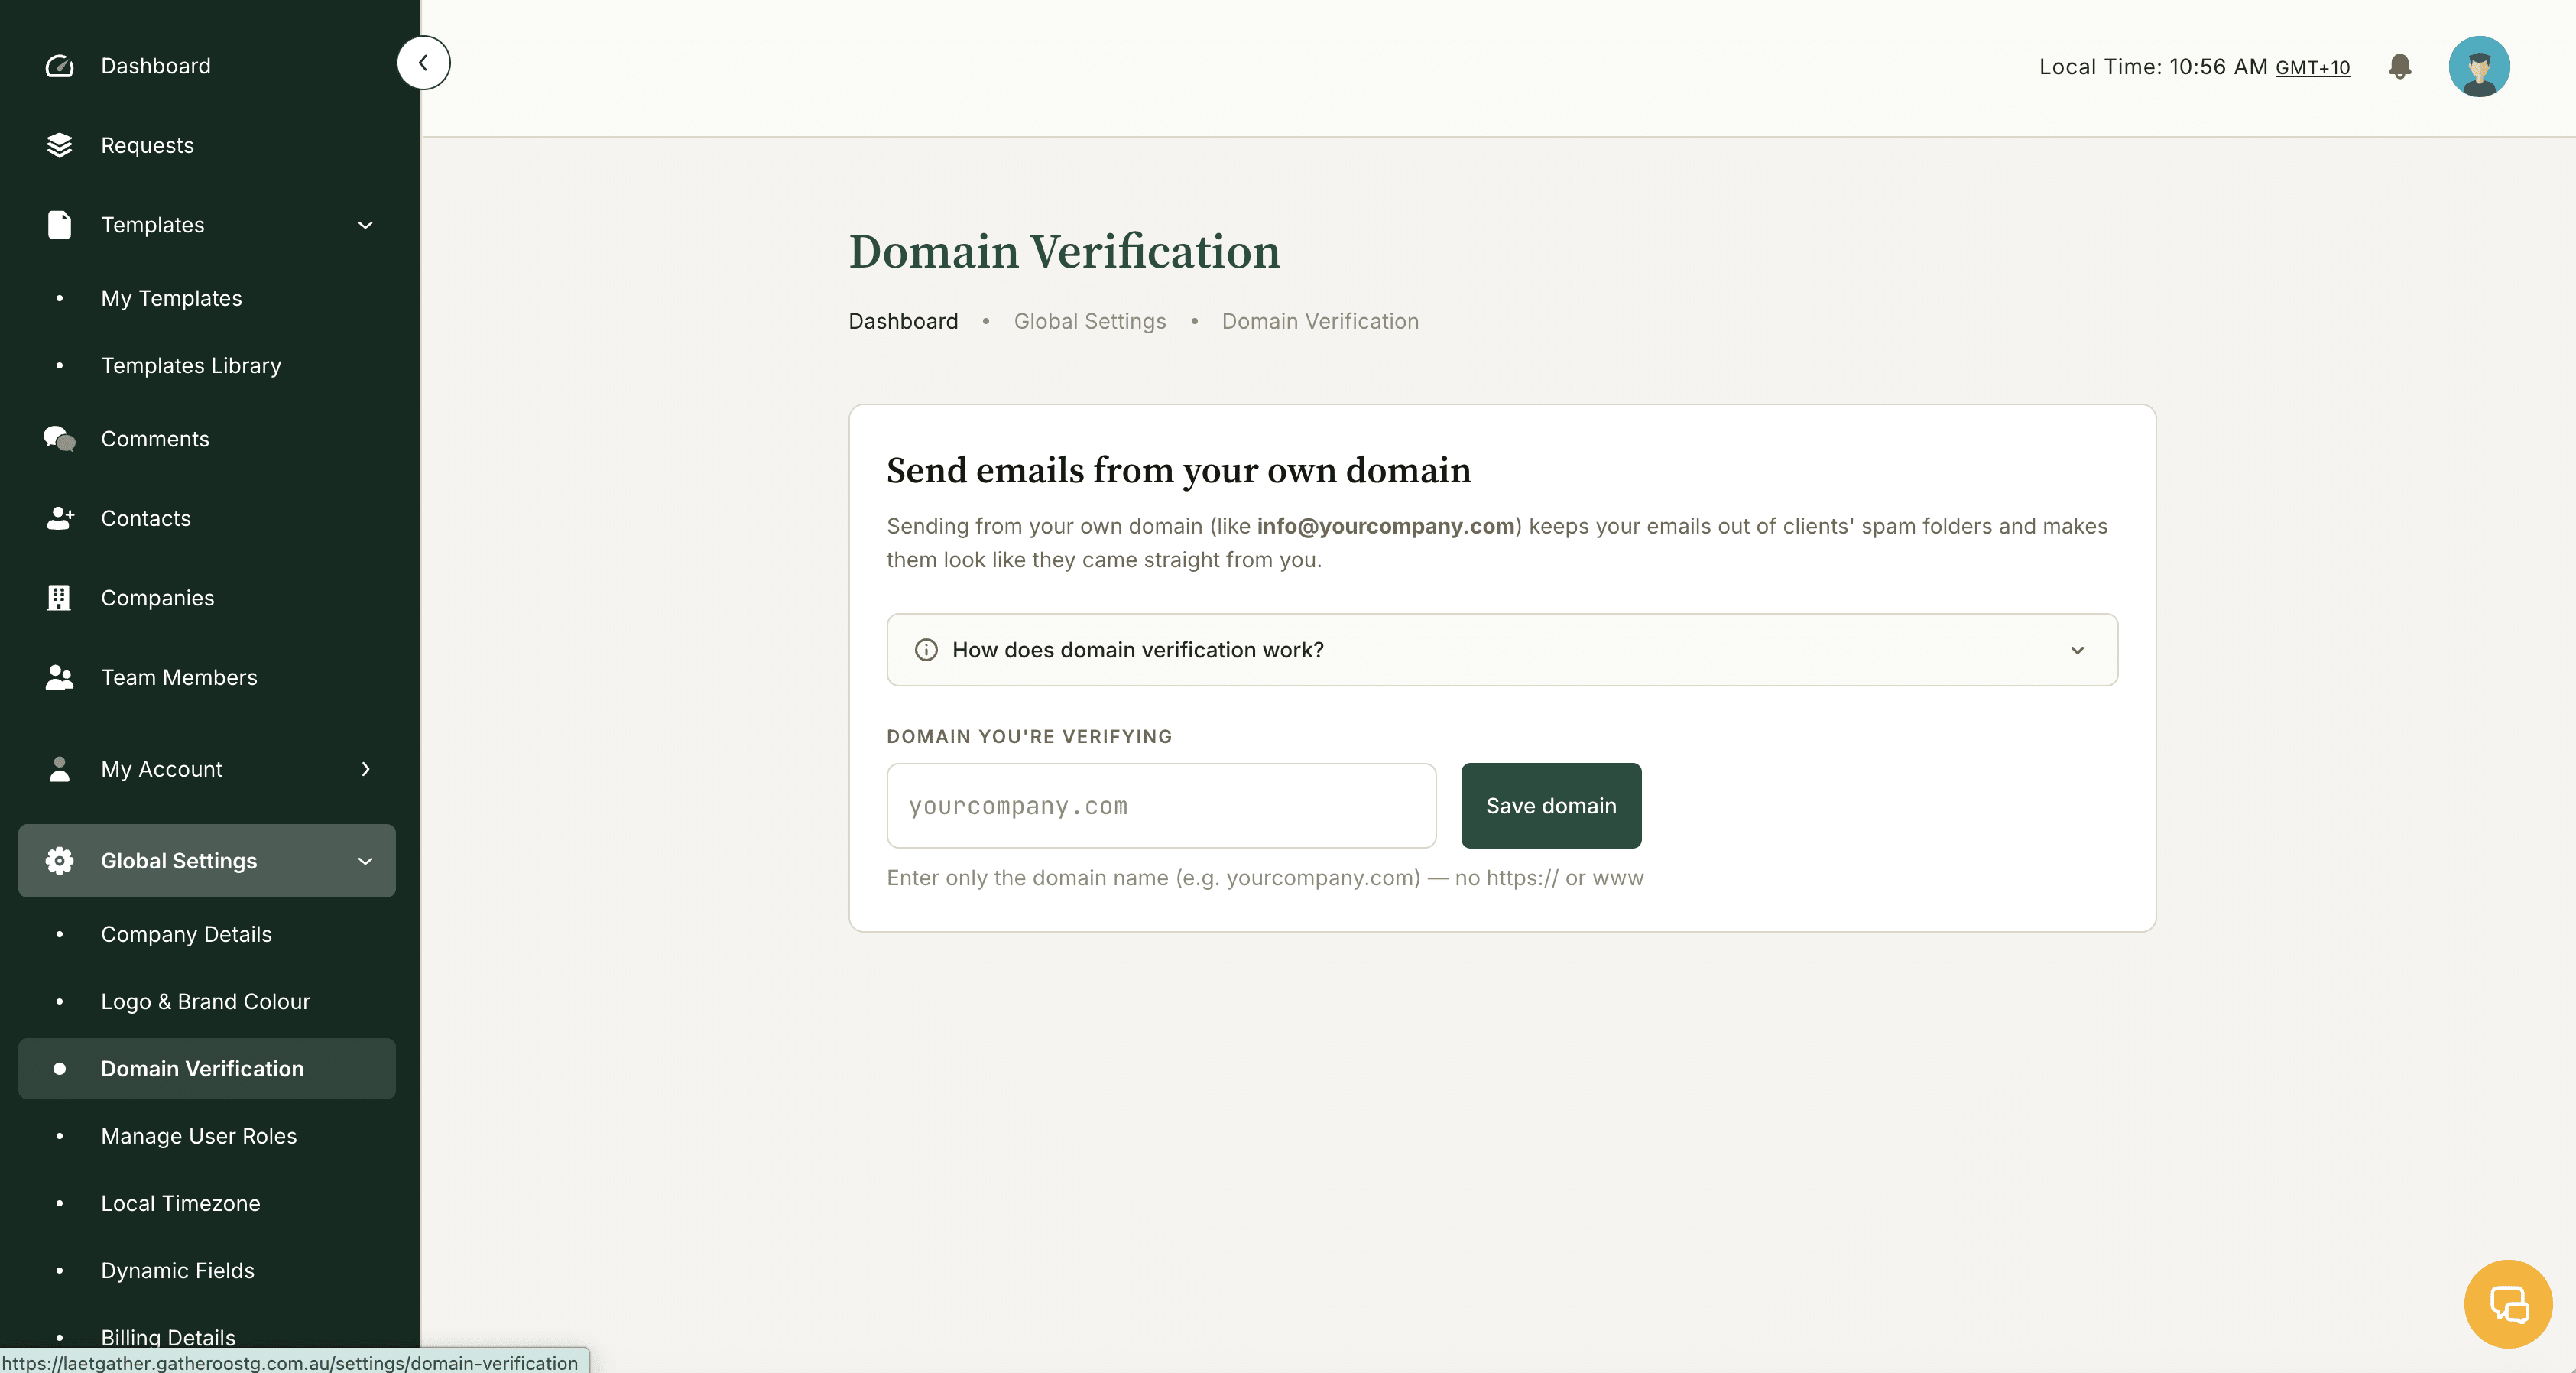
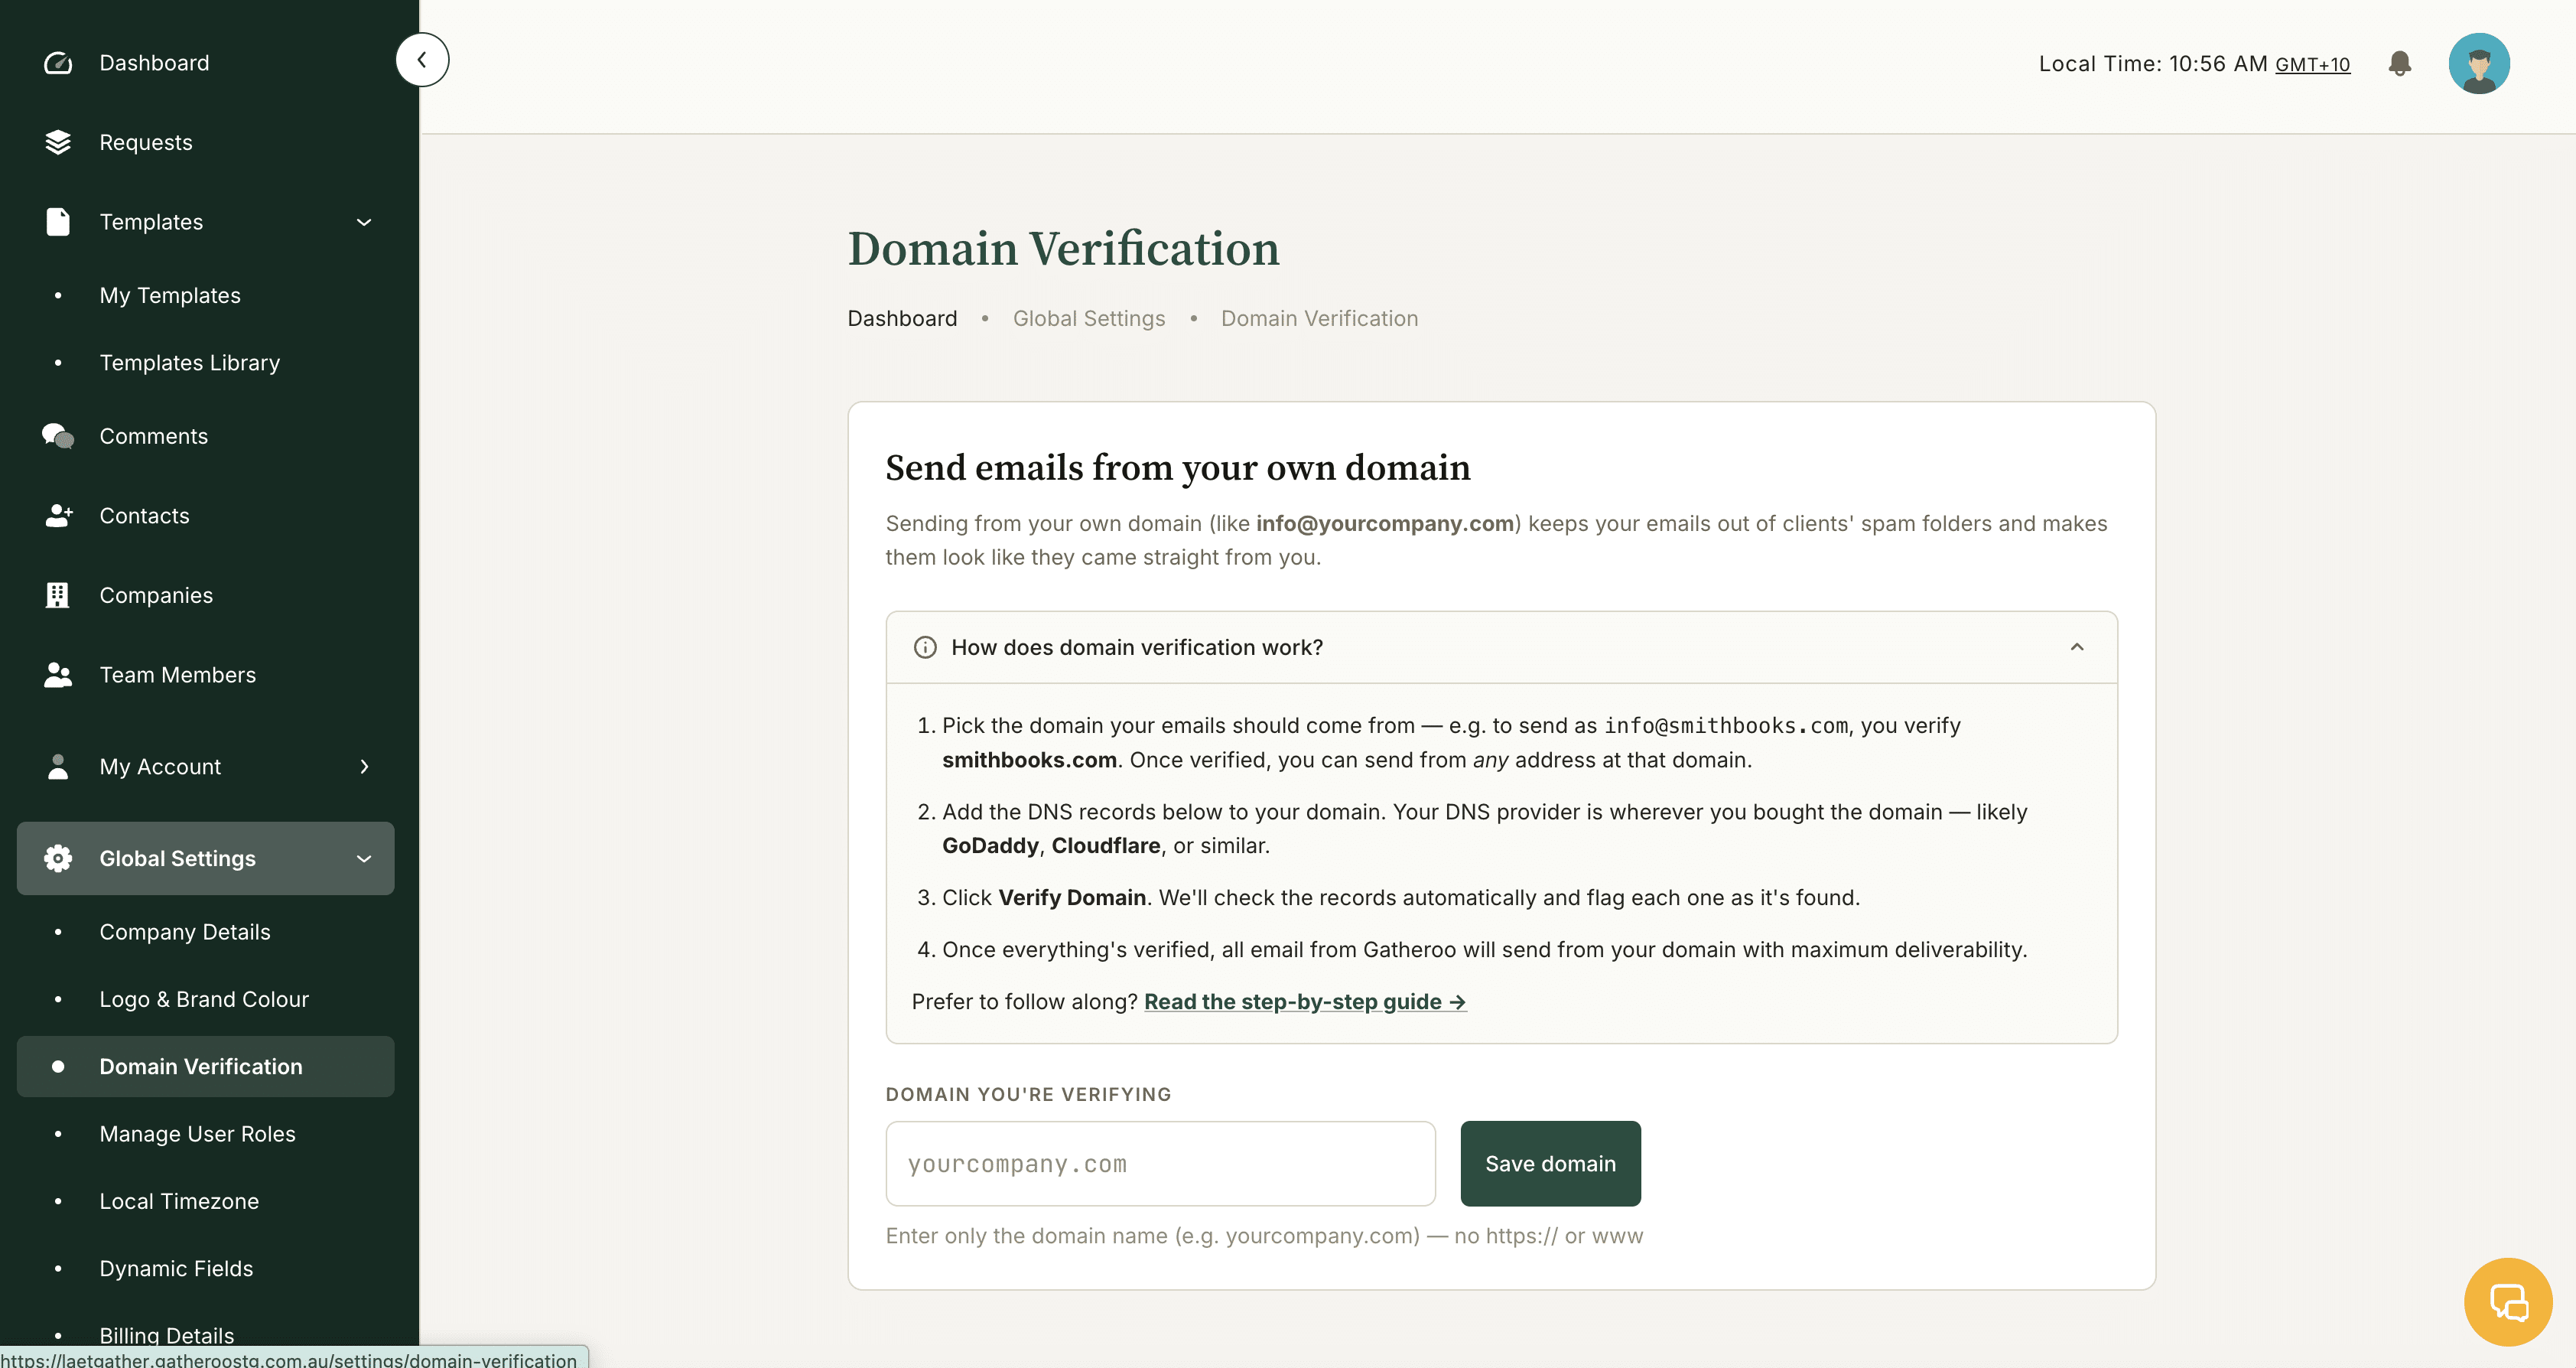
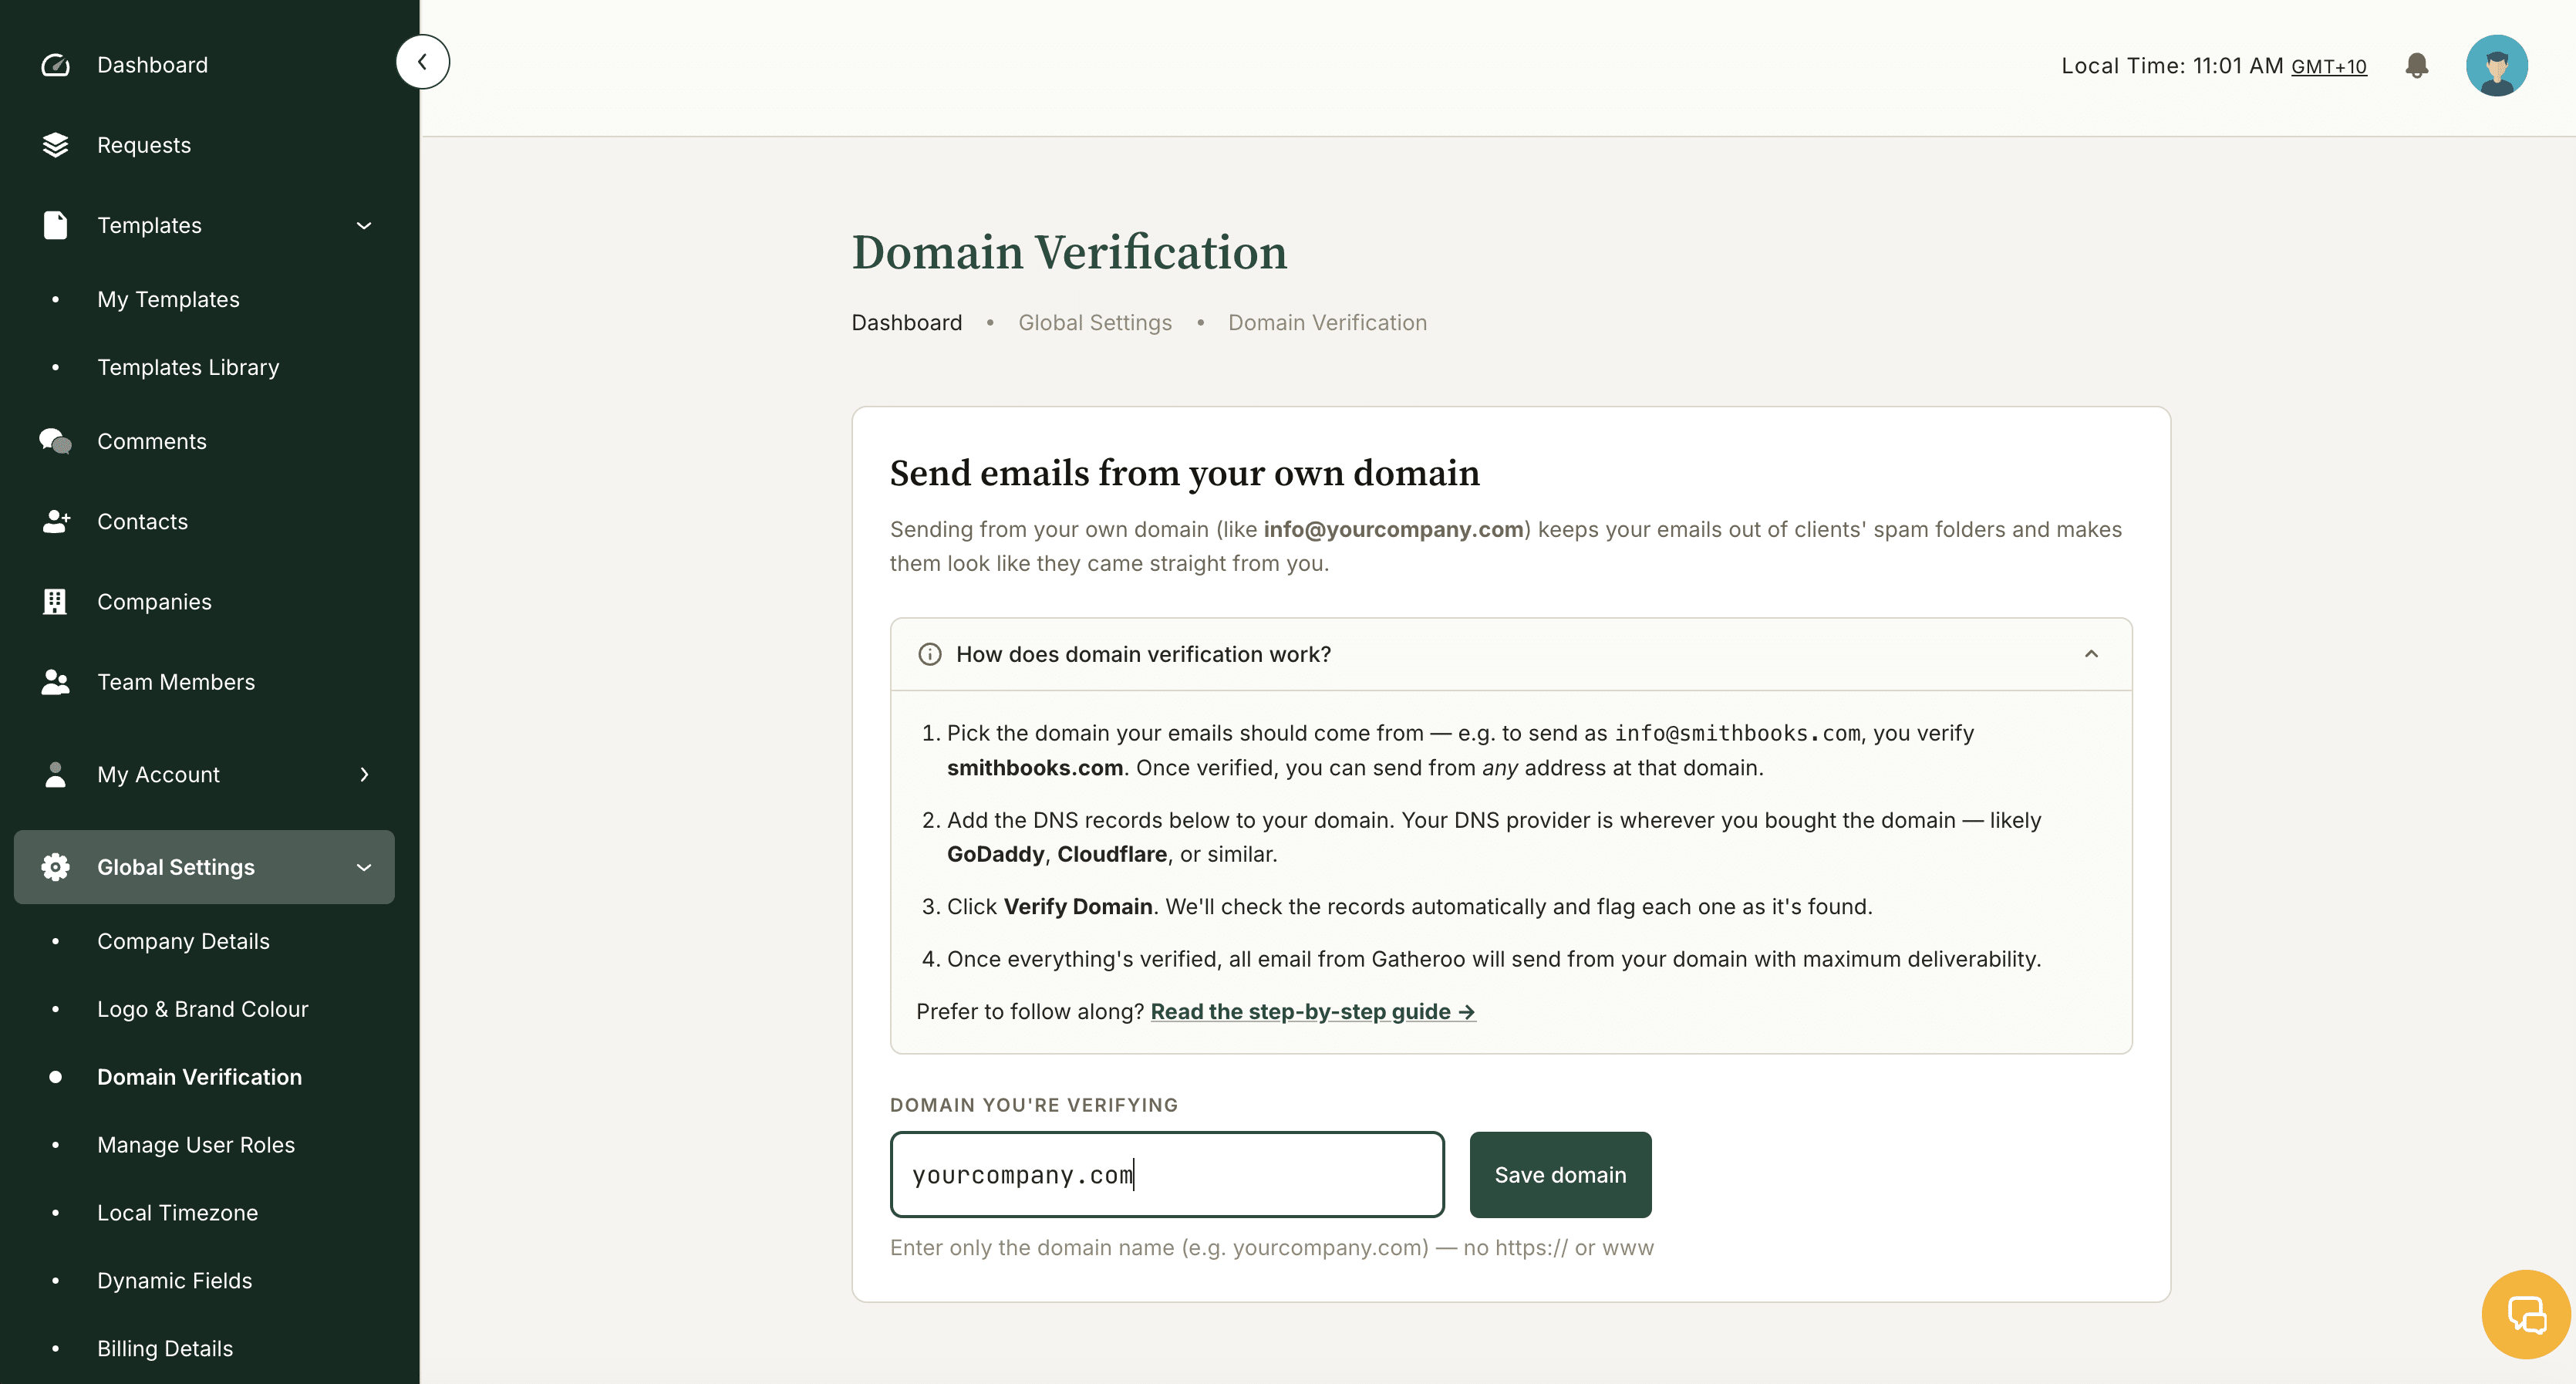
3. Enter your domain name (e.g. yourcompany.com) and click Save domain.
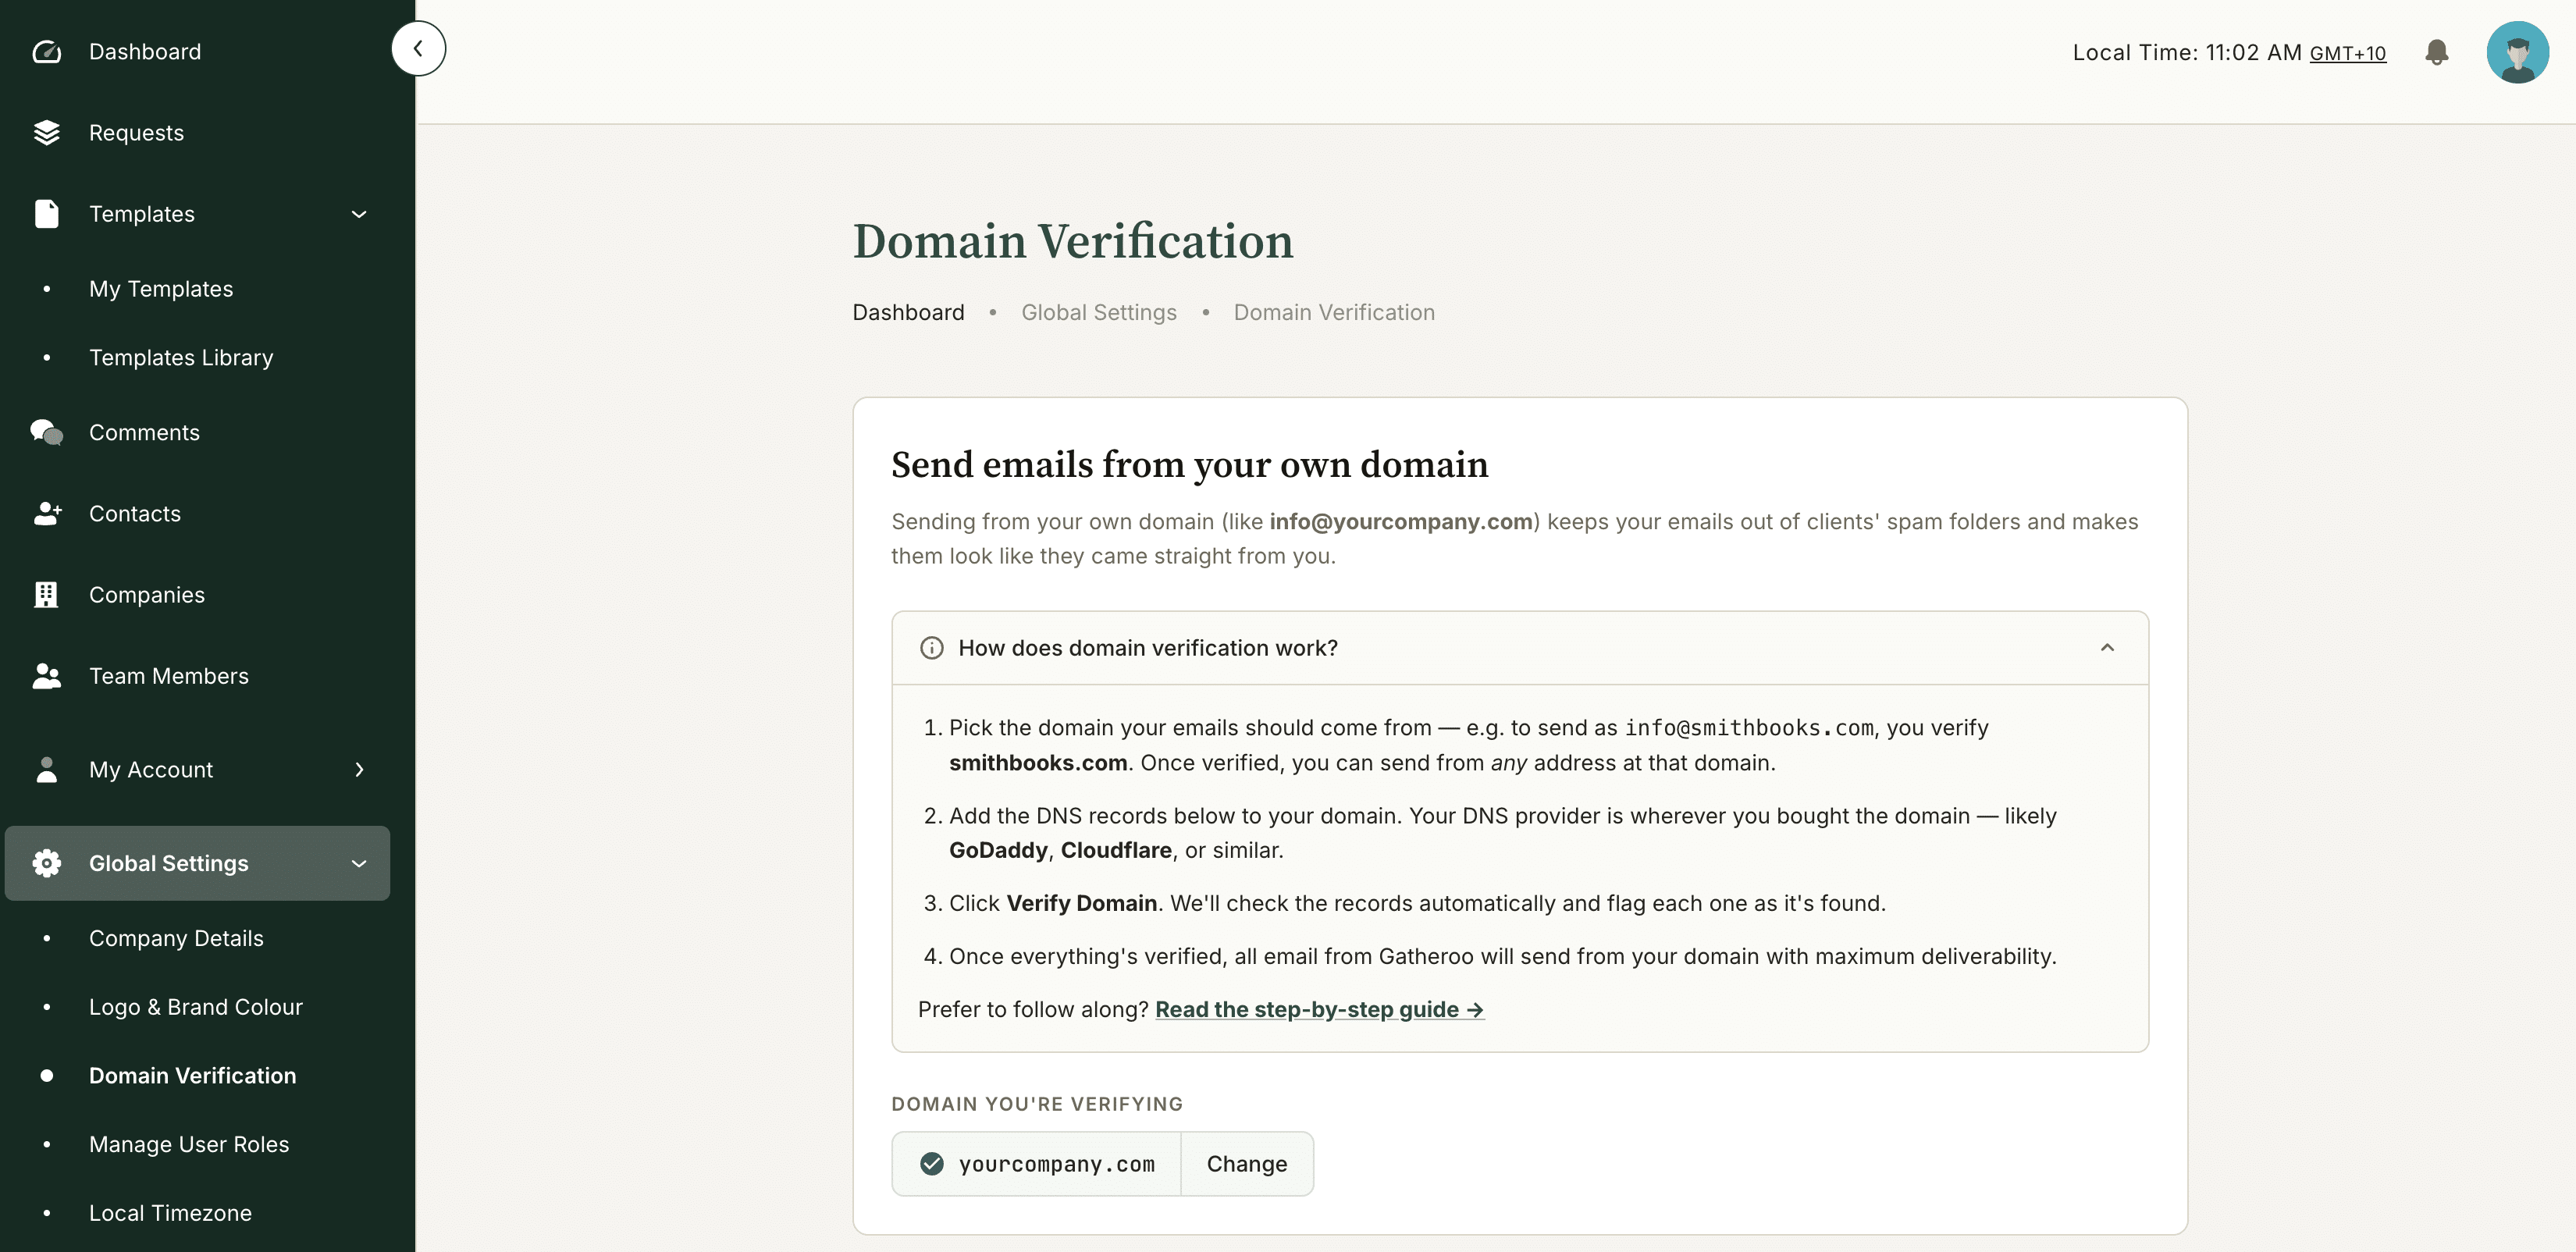
4. When entered correctly, Gatheroo will show the domain it is expecting to verify.
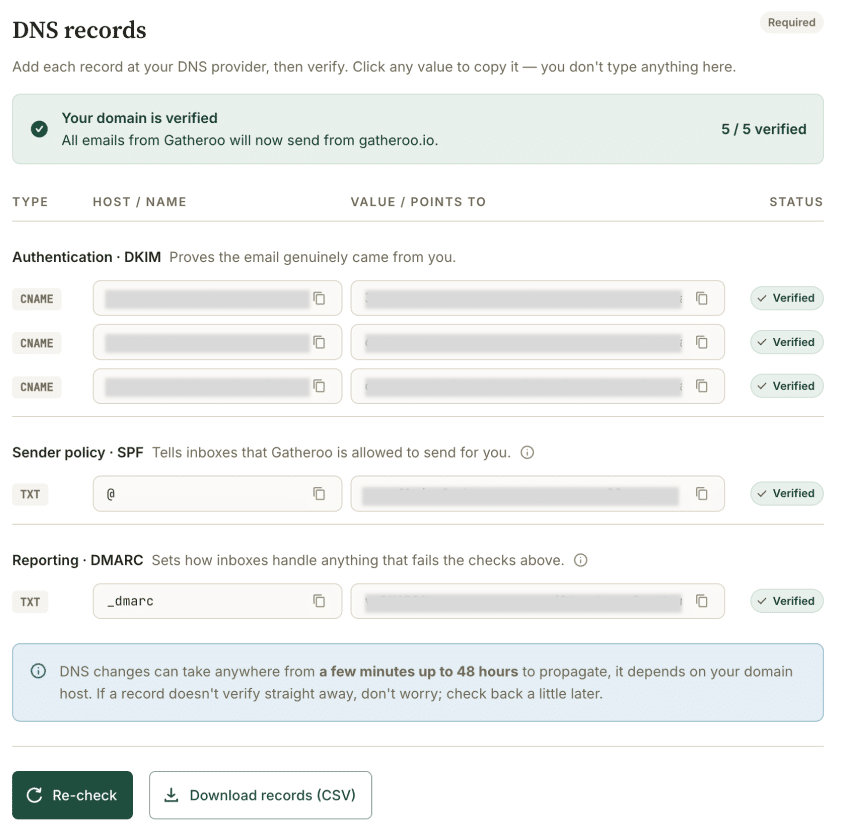
5. Gatheroo will generate a set of DNS records (SPF, DKIM, and DMARC values). These are the minimum DNS settings required to verify a domain.
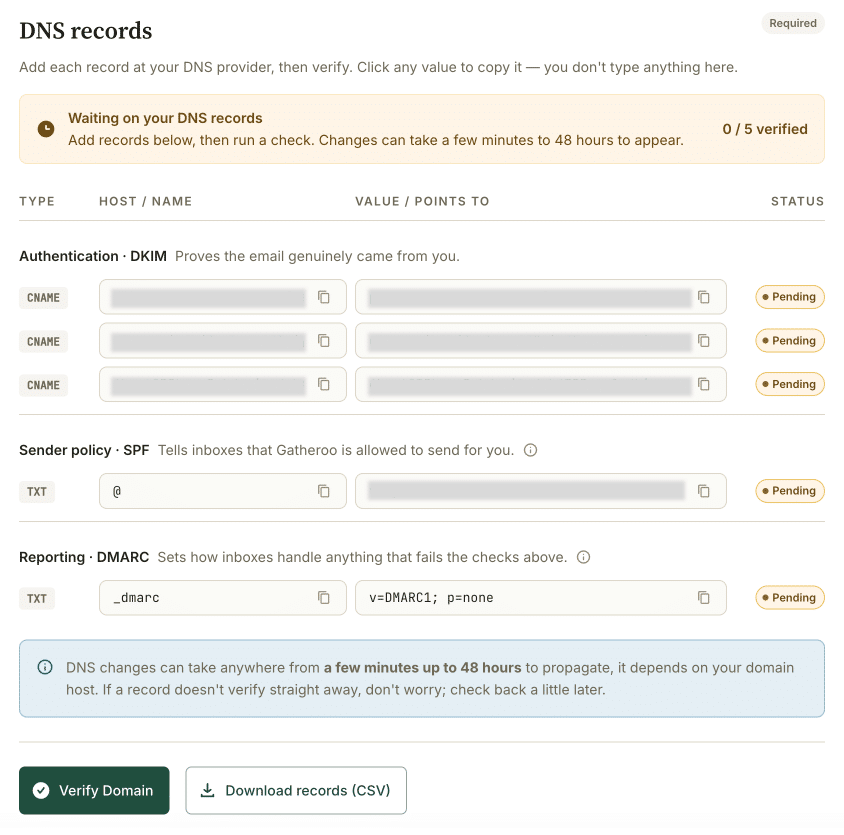
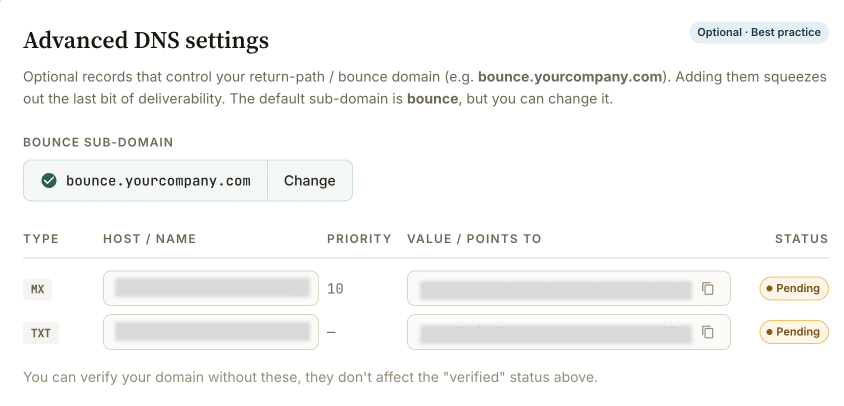
6. Gatheroo will also generate a set of Advanced DNS records. While these are not required to verify a domain, email providers are increasingly relying on these to verify received emails
7. Copy each record and add them to your domain’s DNS settings through your registrar, or download them as a CSV.
8. Return to Gatheroo and click Verify. DNS changes can take up to 48 hours to propagate. The status will update automatically.
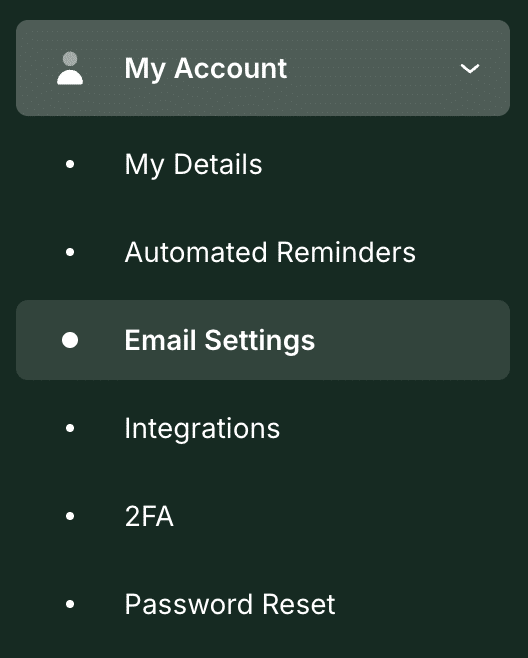
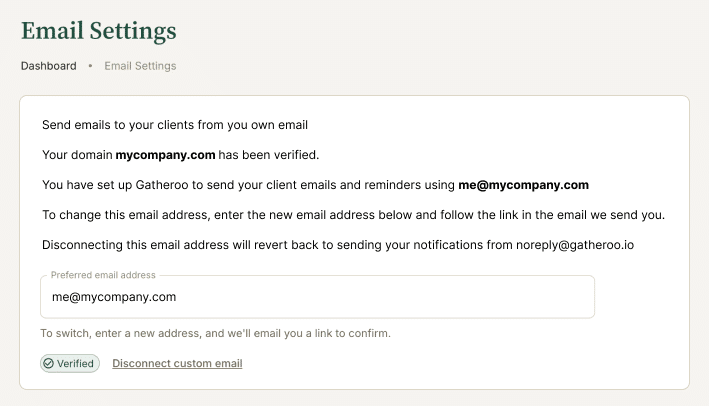
9. Once your domain is verified, all team members will be able to verify their own email address using the same domain. This can be found under My Account → Email Settings. Each Team Member will need to set up and verify their email address by clicking on the email Gatheroo sends them, once the domain is verified. Full instructions can be found here: https://gatheroo.io/how-to-guides/using-your-own-email-address-for-gatheroo-notifications/