With a few clicks, you will be able to personalise your Gatheroo account
Once your account has been created (see previous article if you don’t already have an account), you can personalise it.
What We’ll Cover In This Article
- Why personalise your account
- What can be personalised on your account
- How to personalise users
- How to personalise notifications
- How to personalise reminders
1. Why Personalise Your Gatheroo Account?
Why should you do this? Because this will make it easier for your clients to know the requests are from you, and result in a better user experience for your clients.
2. What Can Be Personalised.
Individual users can personalise their profiles with an image, name and contact details.
Company Details can also be personalised, by adding a logo, Contact details and an email signature.
Other settings such as Global Notification and Reminders will also help you to personalise Gatheroo to reflect how you interact with people through your information collection workflow.
3. How To Personalise Your User Profile.
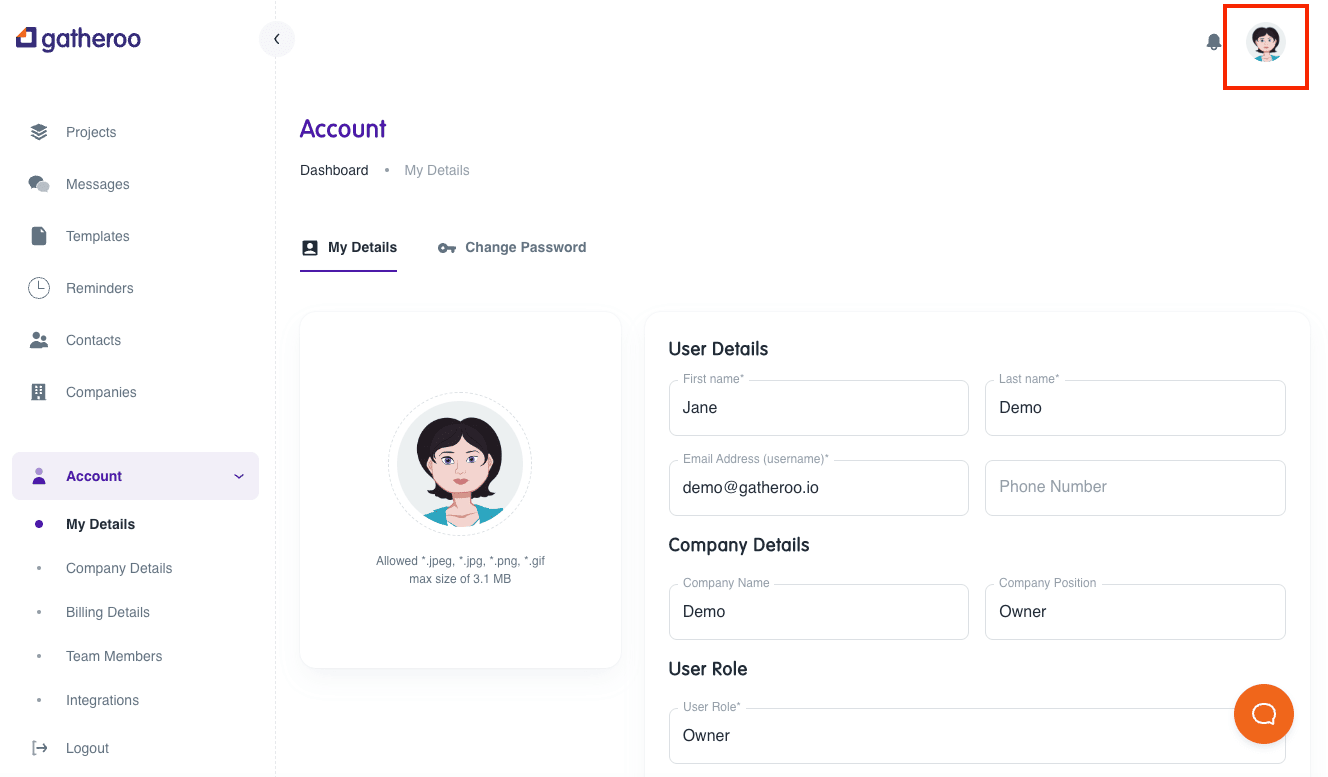
You can amend your own profile by updating your name, phone number, your address and user role, and even add a photo to your profile.
There are two ways to access your user profile – either through the left-hand menu under “Account/My Details” or my selecting “My Details” under the profile image on the top right of your screen.
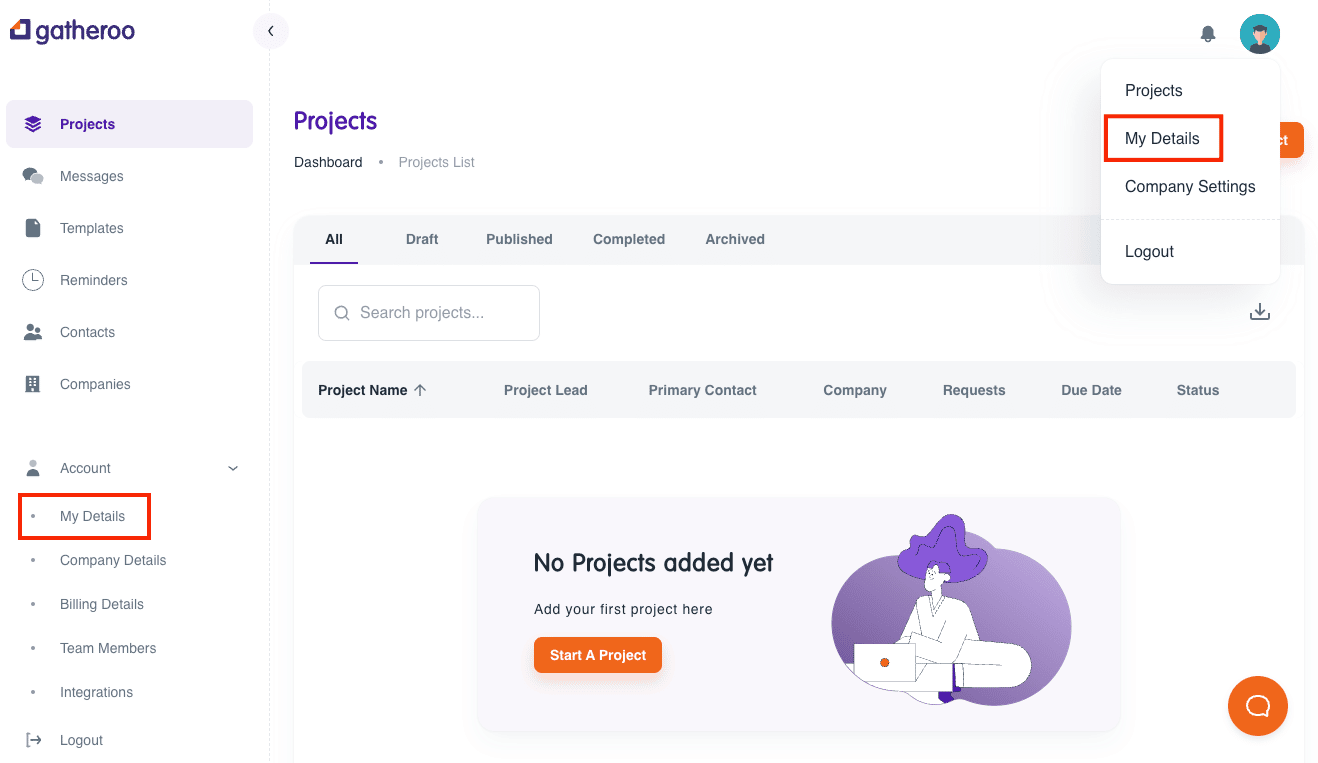
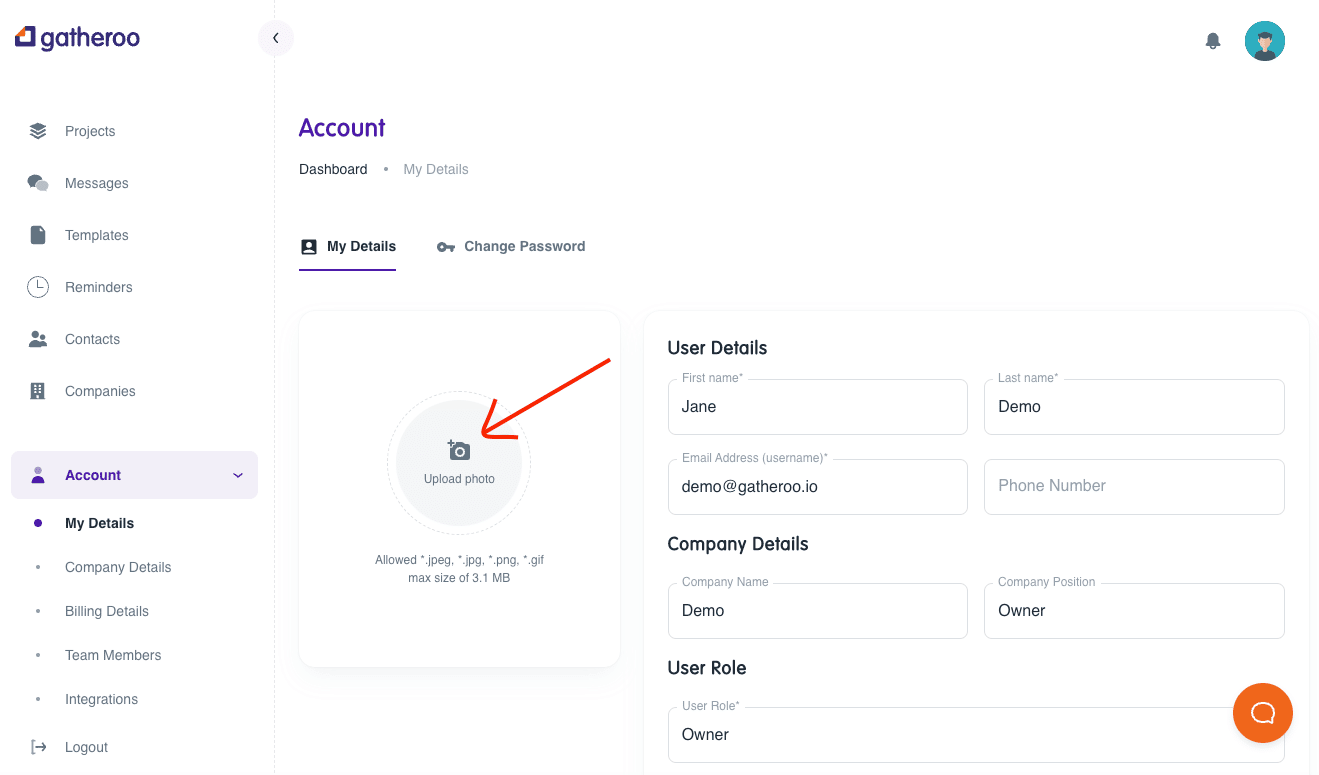
In the My Details view – select Upload photo.
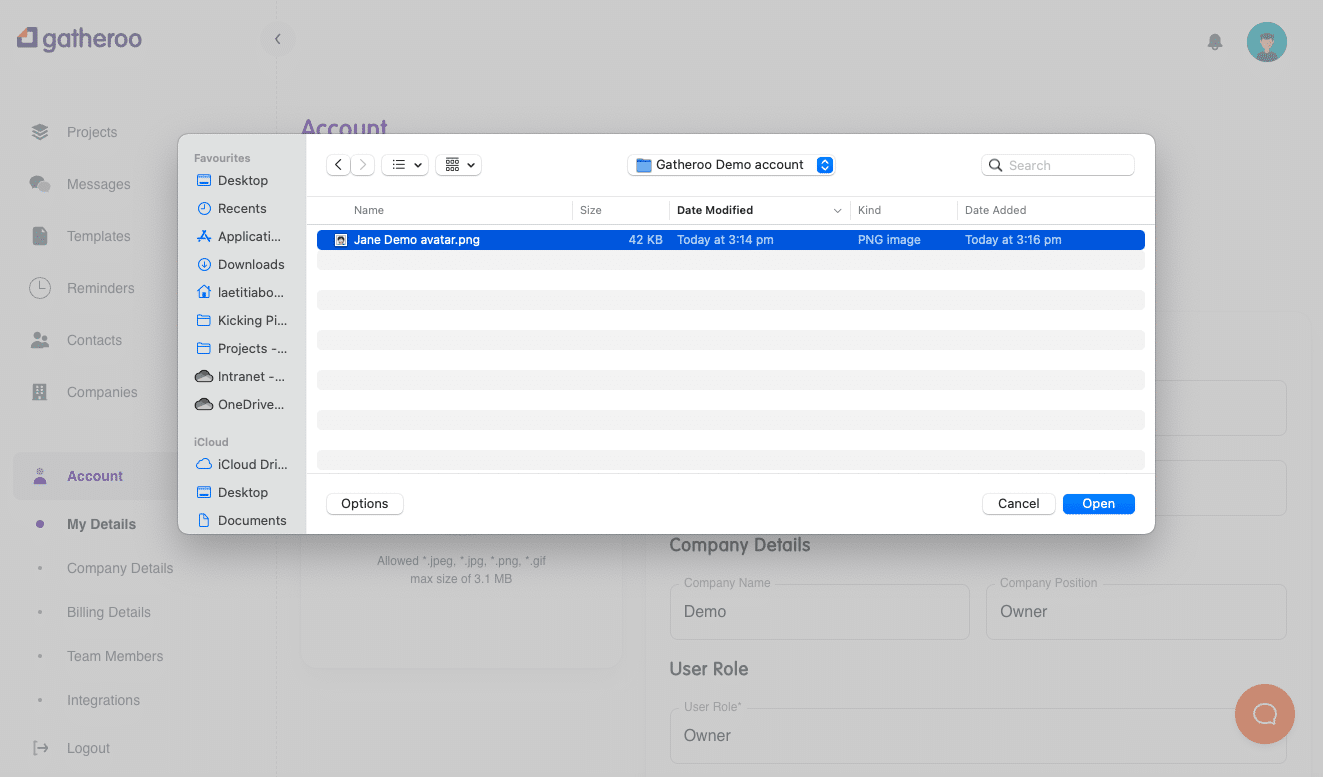
Select an image from your files.
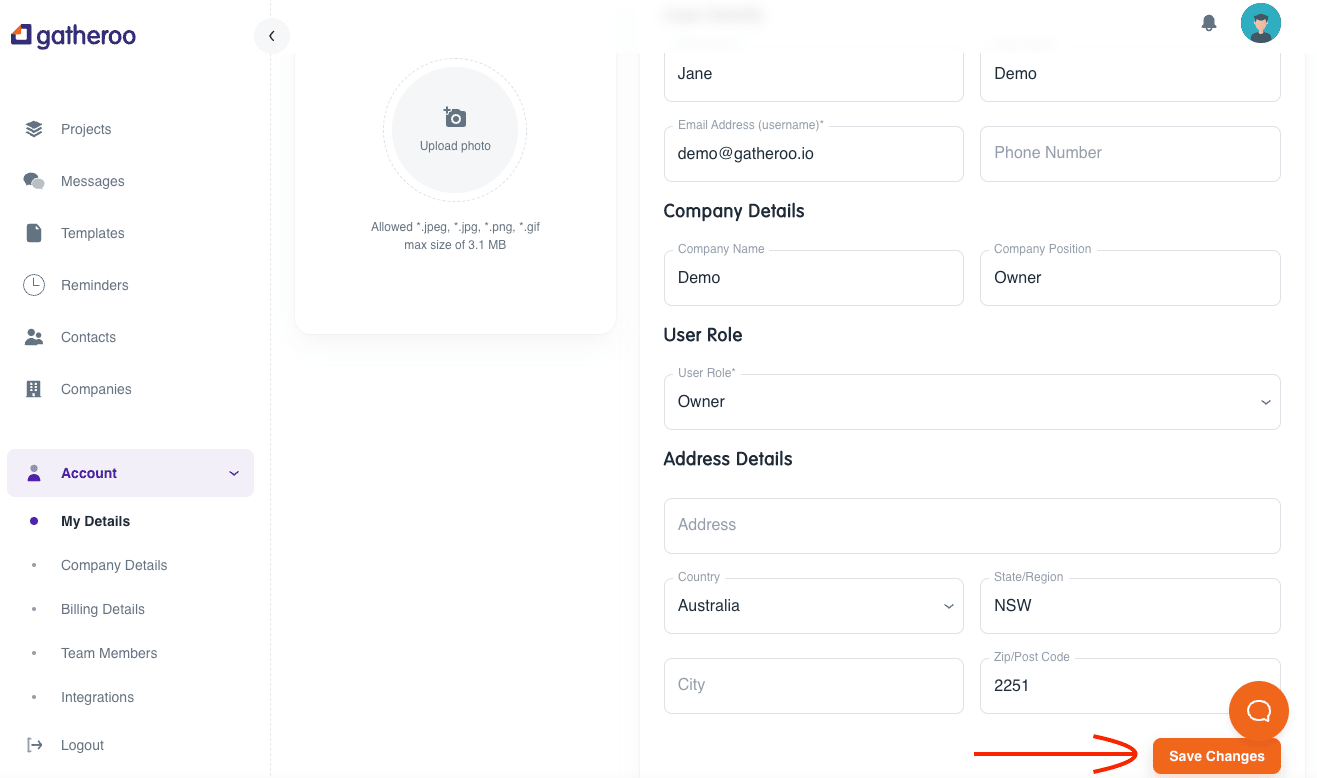
Update your name, phone number and address, and select Save – you may need to scroll down to see the Save button.
Your account should be updated now.
4. How to personalise notifications
Notifications are found under “Reminders” on the left-hand menu
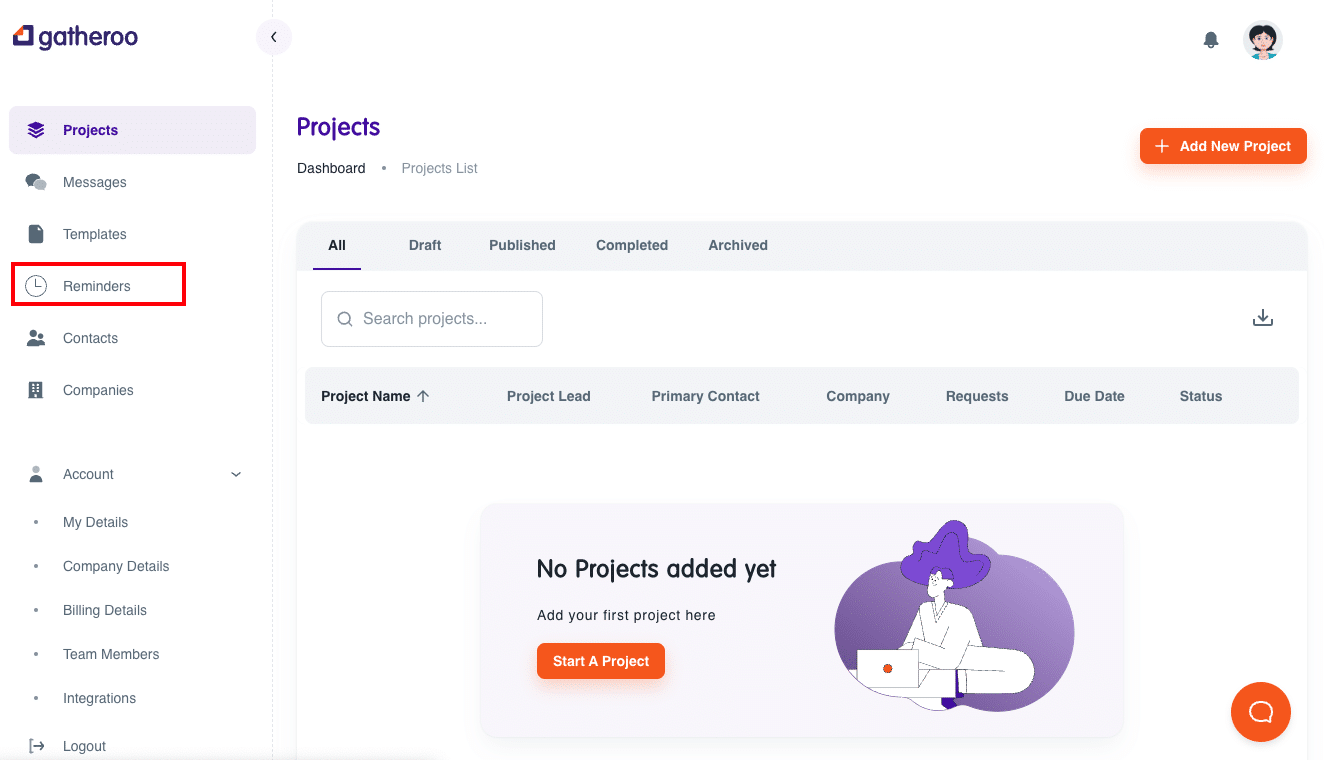
Under this menu item, you will find three tabs
- Notification
- Message Scheduling
- Email Settings
Notifications
There are four types of notifications that you can turn on/off. These are set to ON as default.
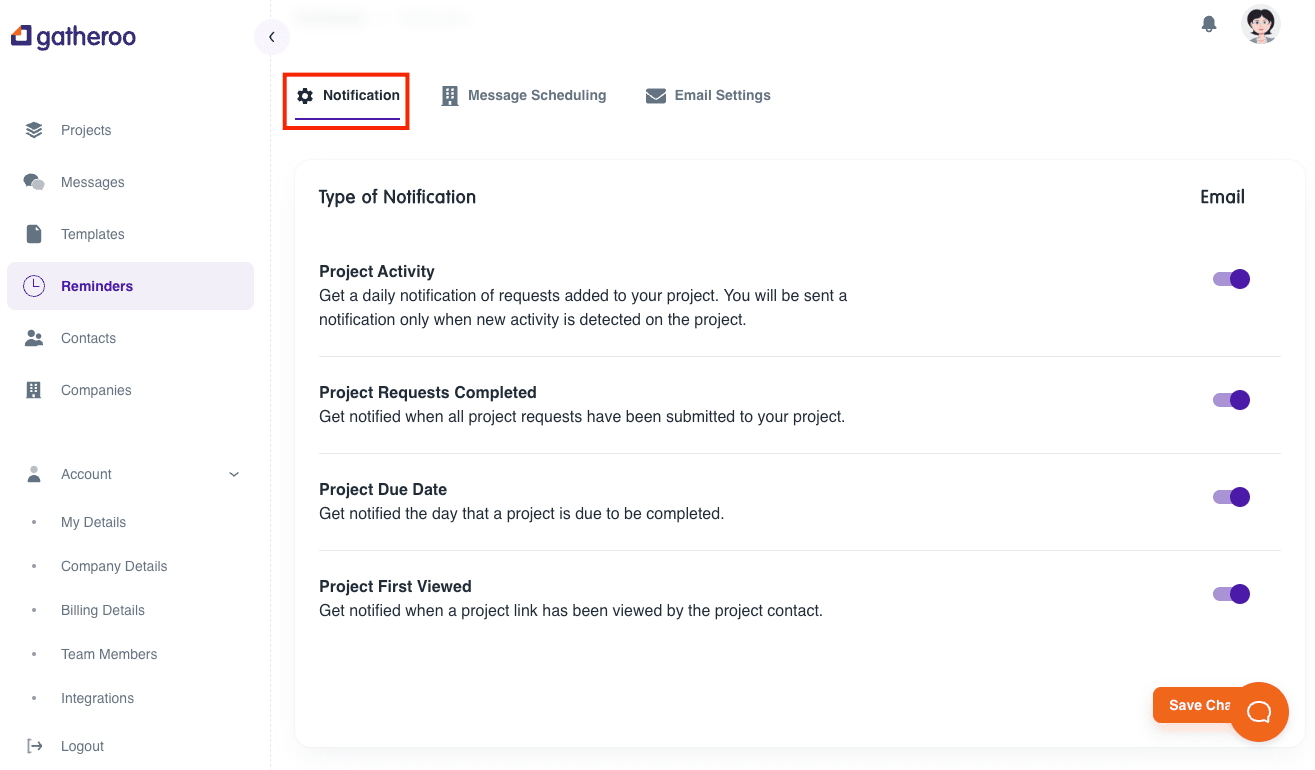
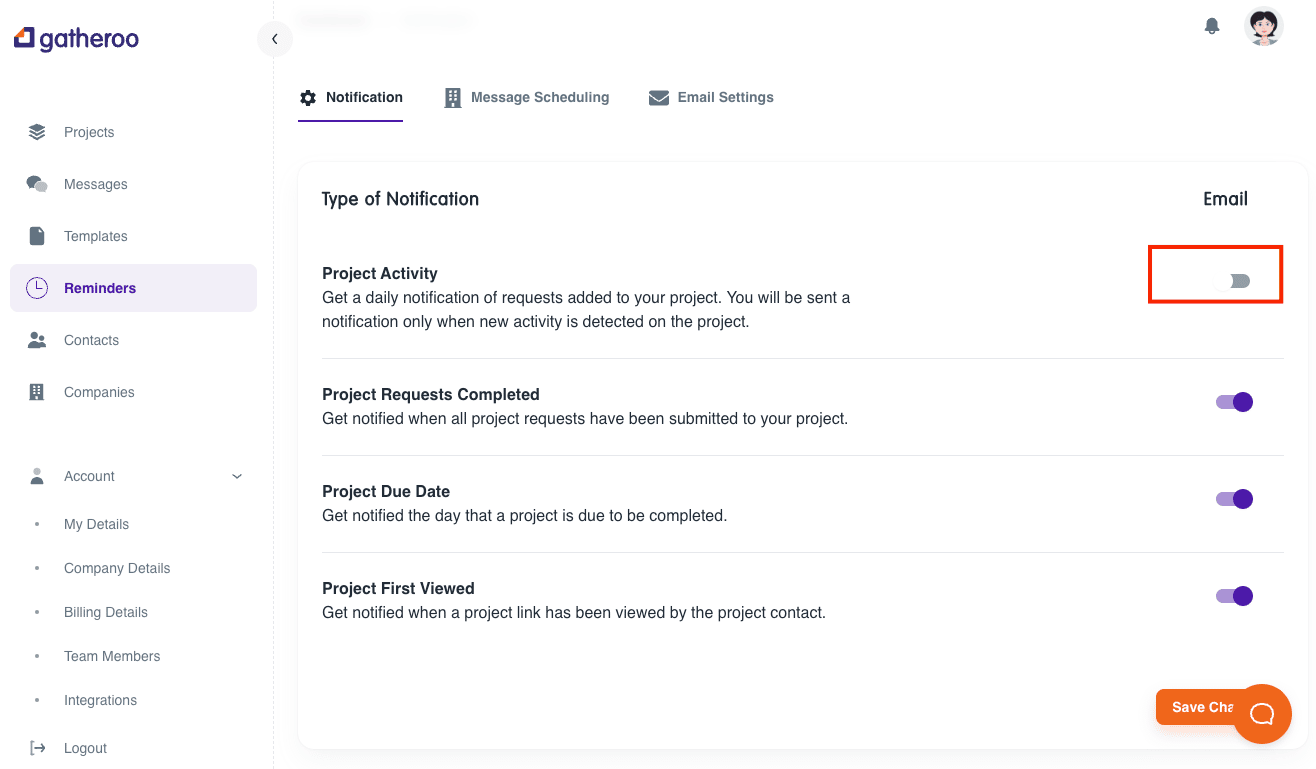
Project Activity – turning this setting on will deliver a daily email into your inbox with the activity that has taken place on your projects for the previous 24 hours.
Project Requests Completed – this will send you an email when ALL requests have been completed and submitted for a particular project.
Project Due Date – receive an email the day a project is due
Project First Viewed – receive an email when a contact opens the shared link for the first time.
Select each on to turn if off (grey) or on (purple)
Message Scheduling
Message Scheduling can be set up for each user, or Global Settings. Select the trigger here to apply to all users on your account.
The scheduling for these messages can be amended on a project by project basis later – these settings will be the default settings applied to new projects.
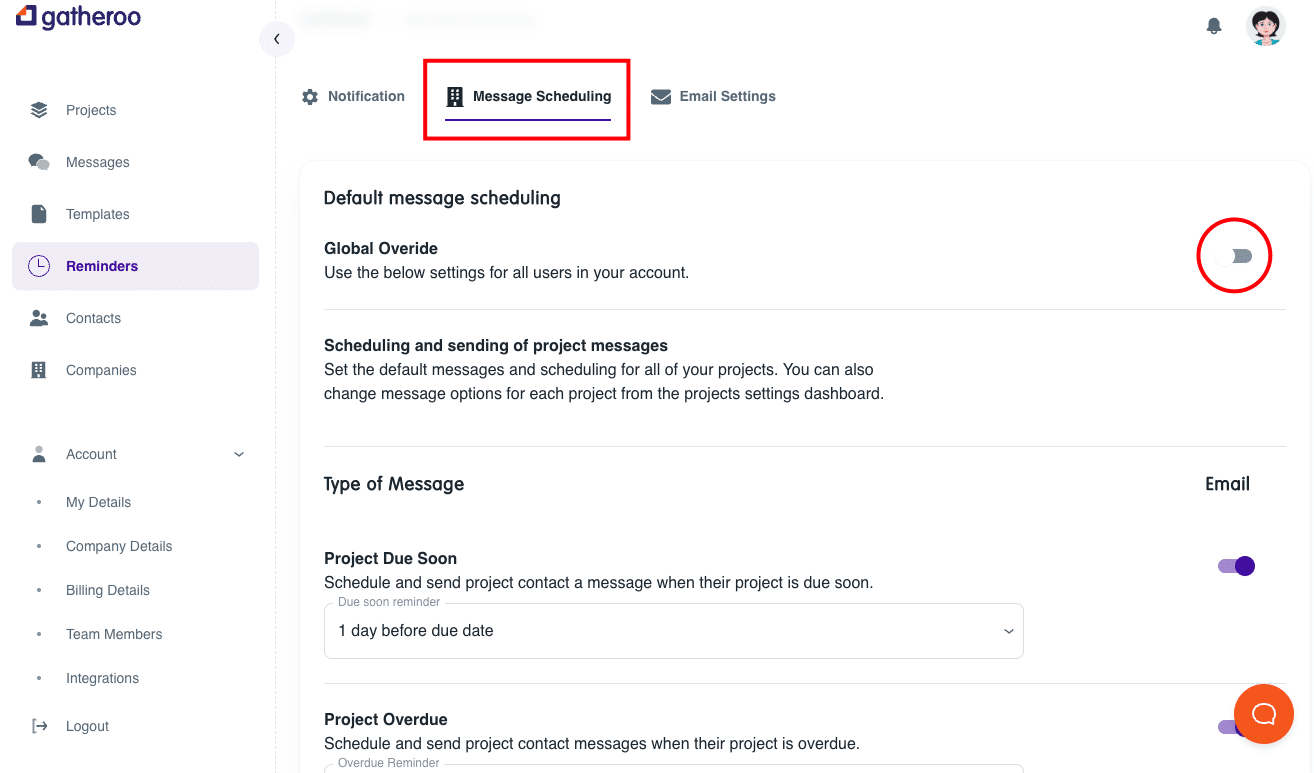
Select this option if you would like your Project Contact to be sent reminders that a project is due soon.
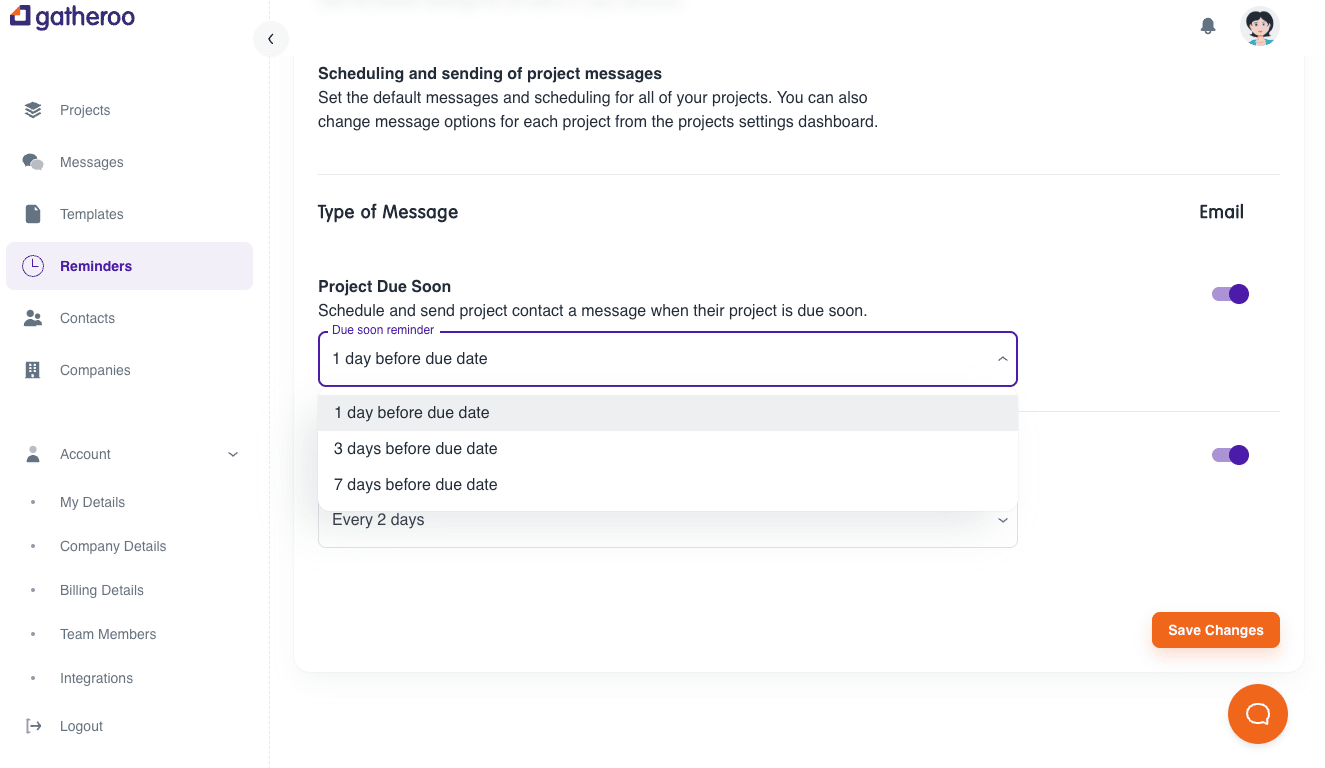
You have the option to send the email 1, 3 or 7 days before the due date.
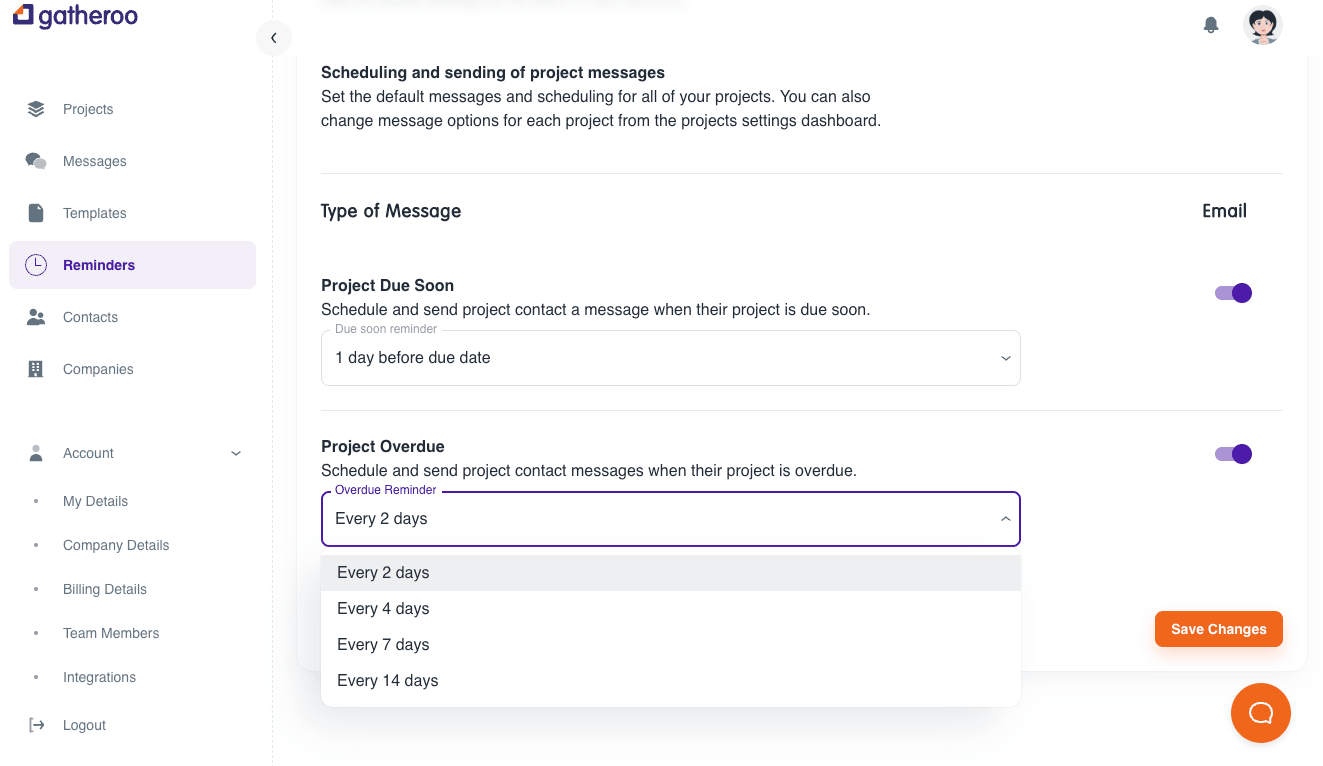
When a project is past it’s due date, your Project Contact will receive an email periodically if they have not completed and submitted each of your request for information.
You can select the frequency of these emails – either every 2, 4, 7 or 14 days – or turn these off completely.
Email Settings
By default – the emails sent by Gatheroo to your Project Contacts are sent by noreply@gatheroo.io
Personalise this to another email address – either your own, or a team address – so your Contacts know you are sending them the emails.
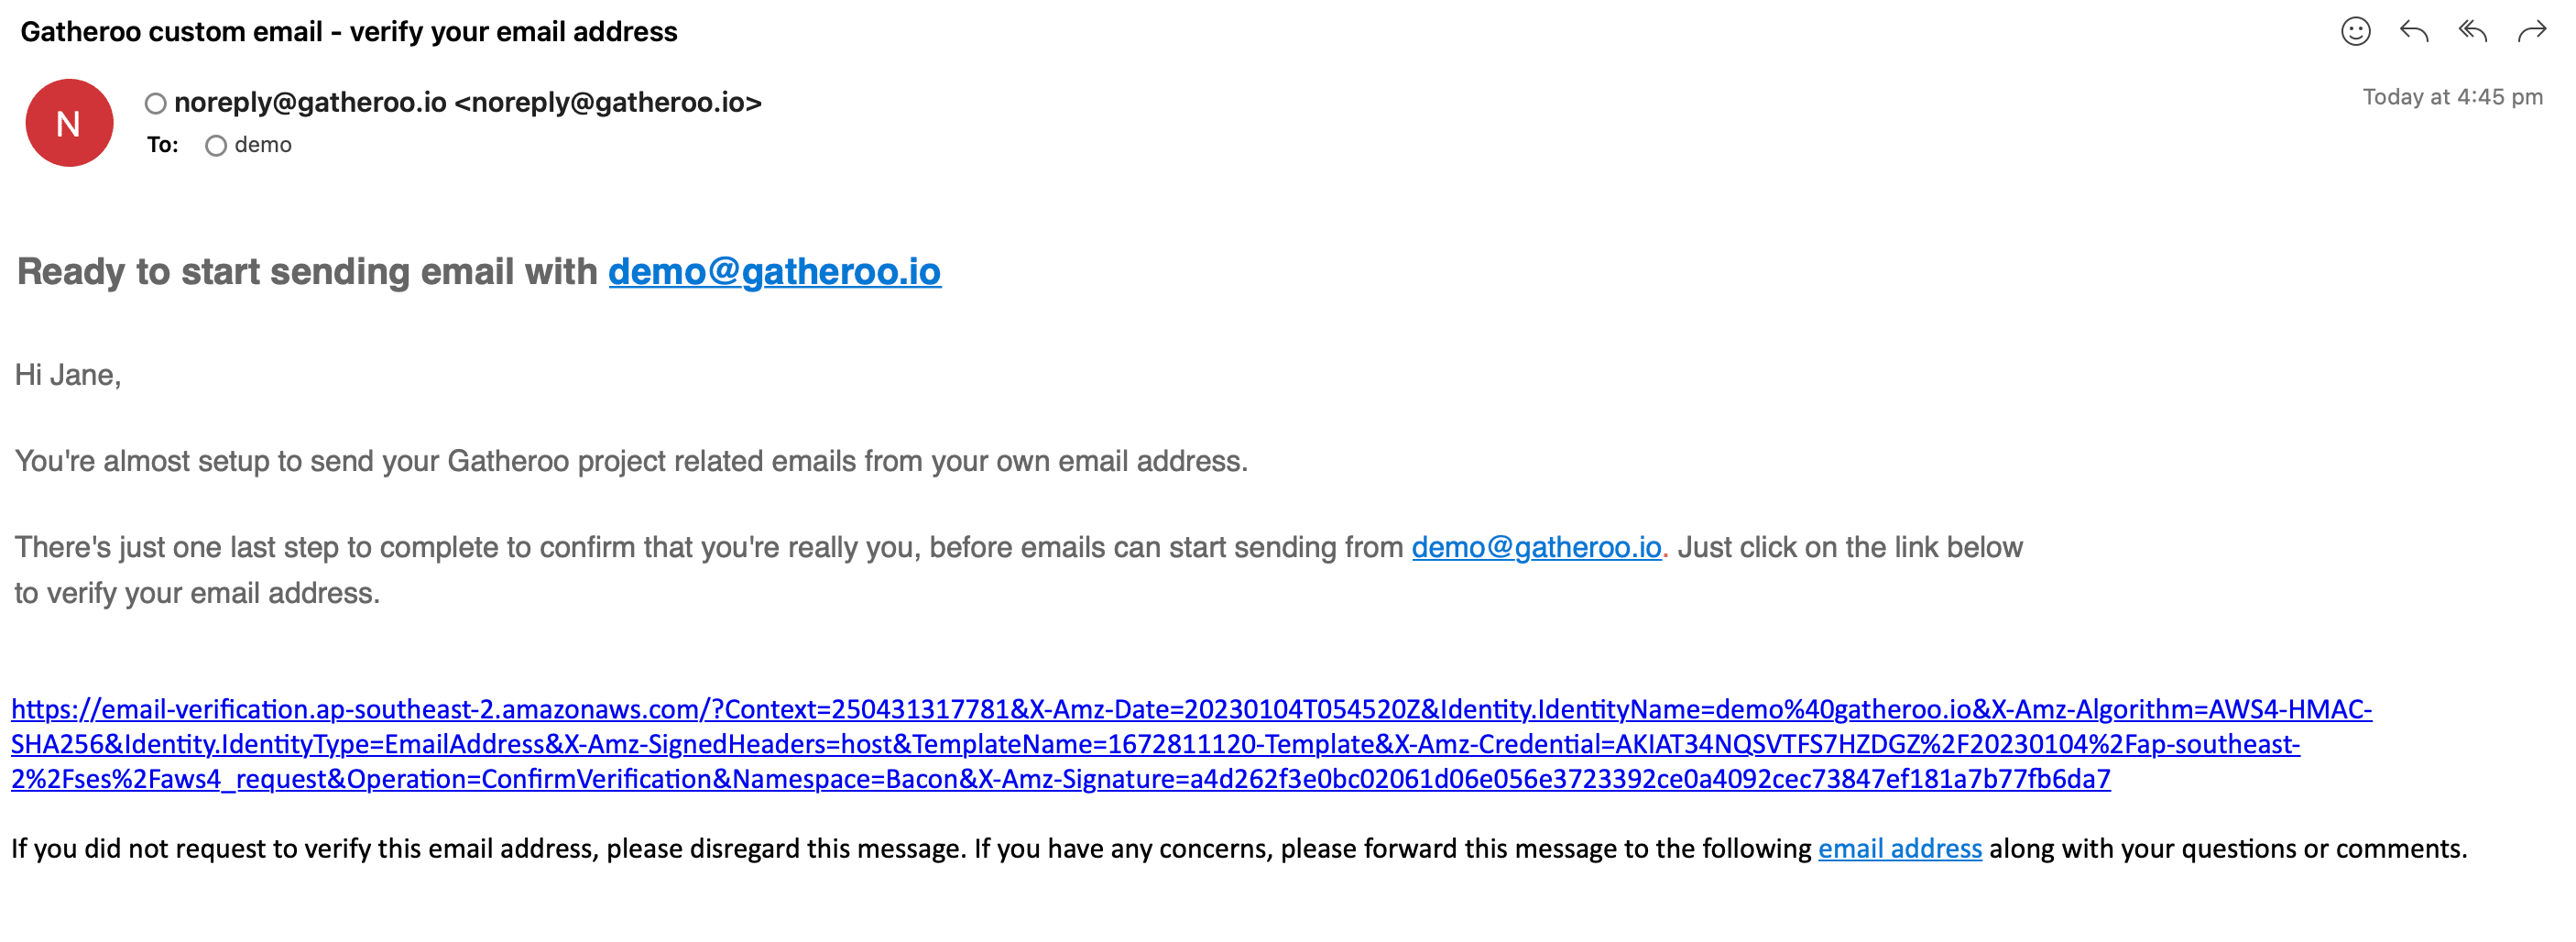
You must have access to the inbox you are selecting in this section, as you will be required to verify the email address.
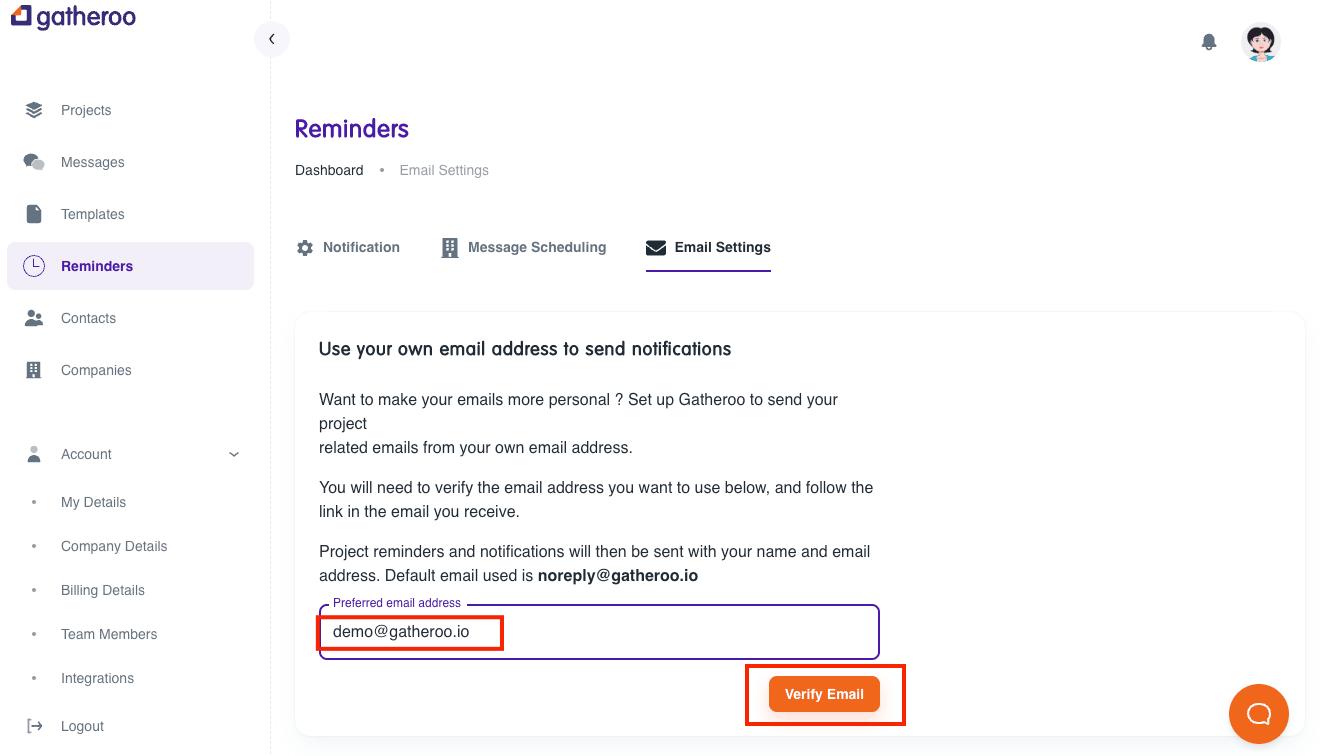
At this stage, you will need to check your inbox and follow the prompts to verify your email.
That’s it! You are done customising your account!
Happy Gatheroo-ing!